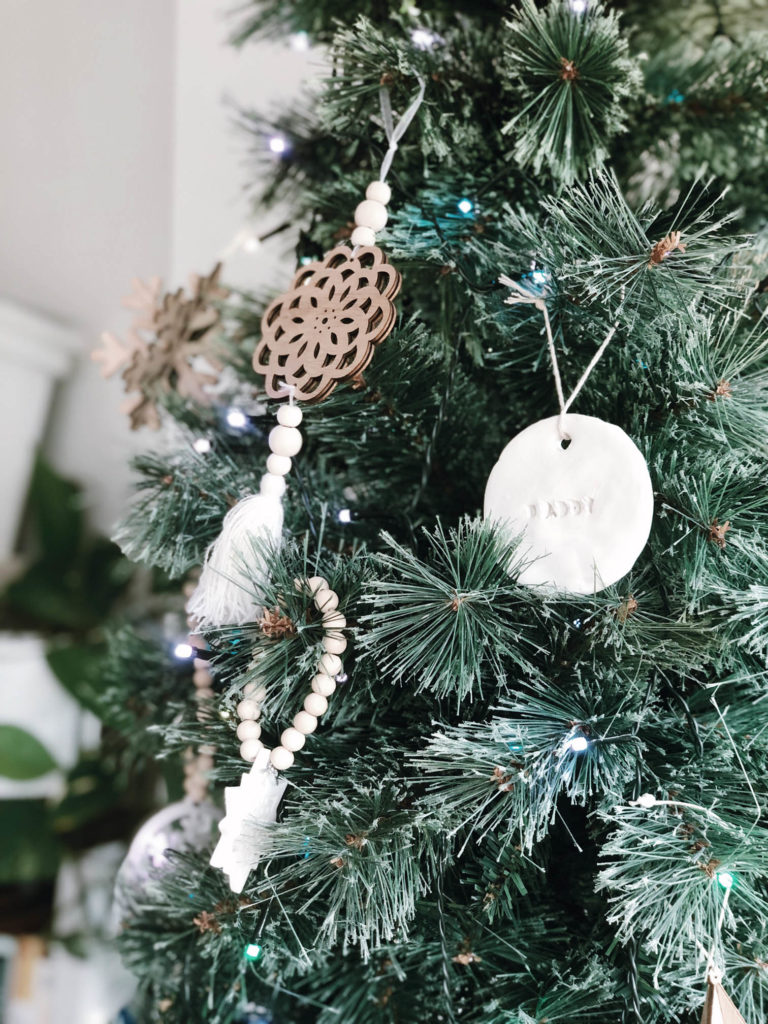
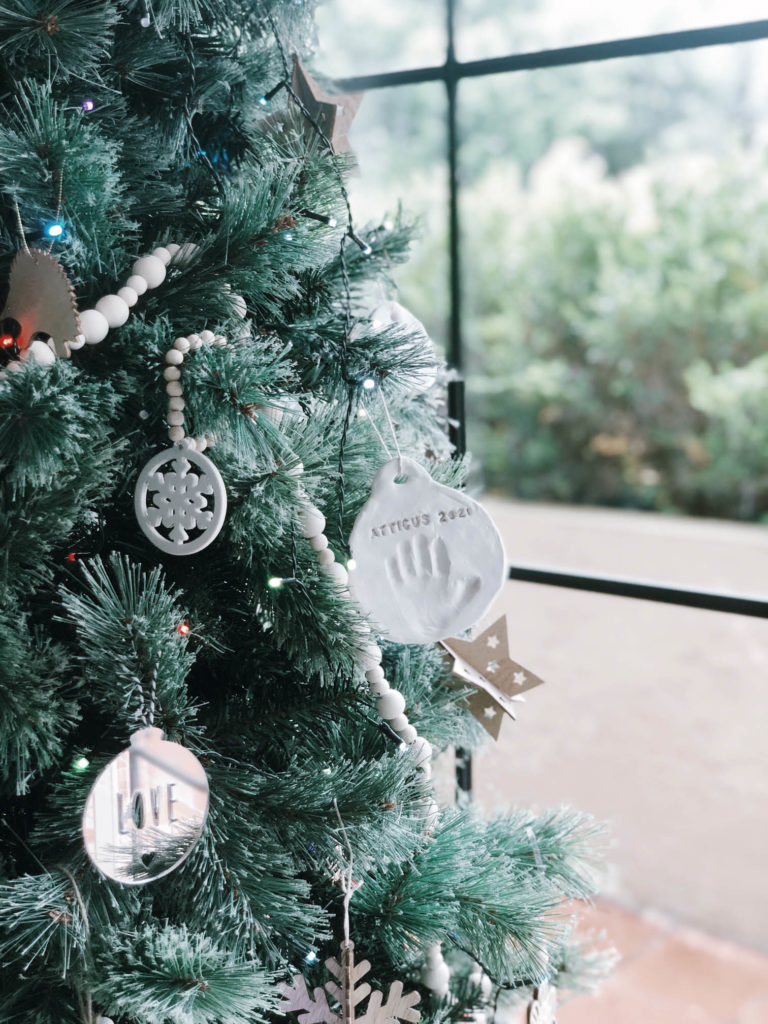
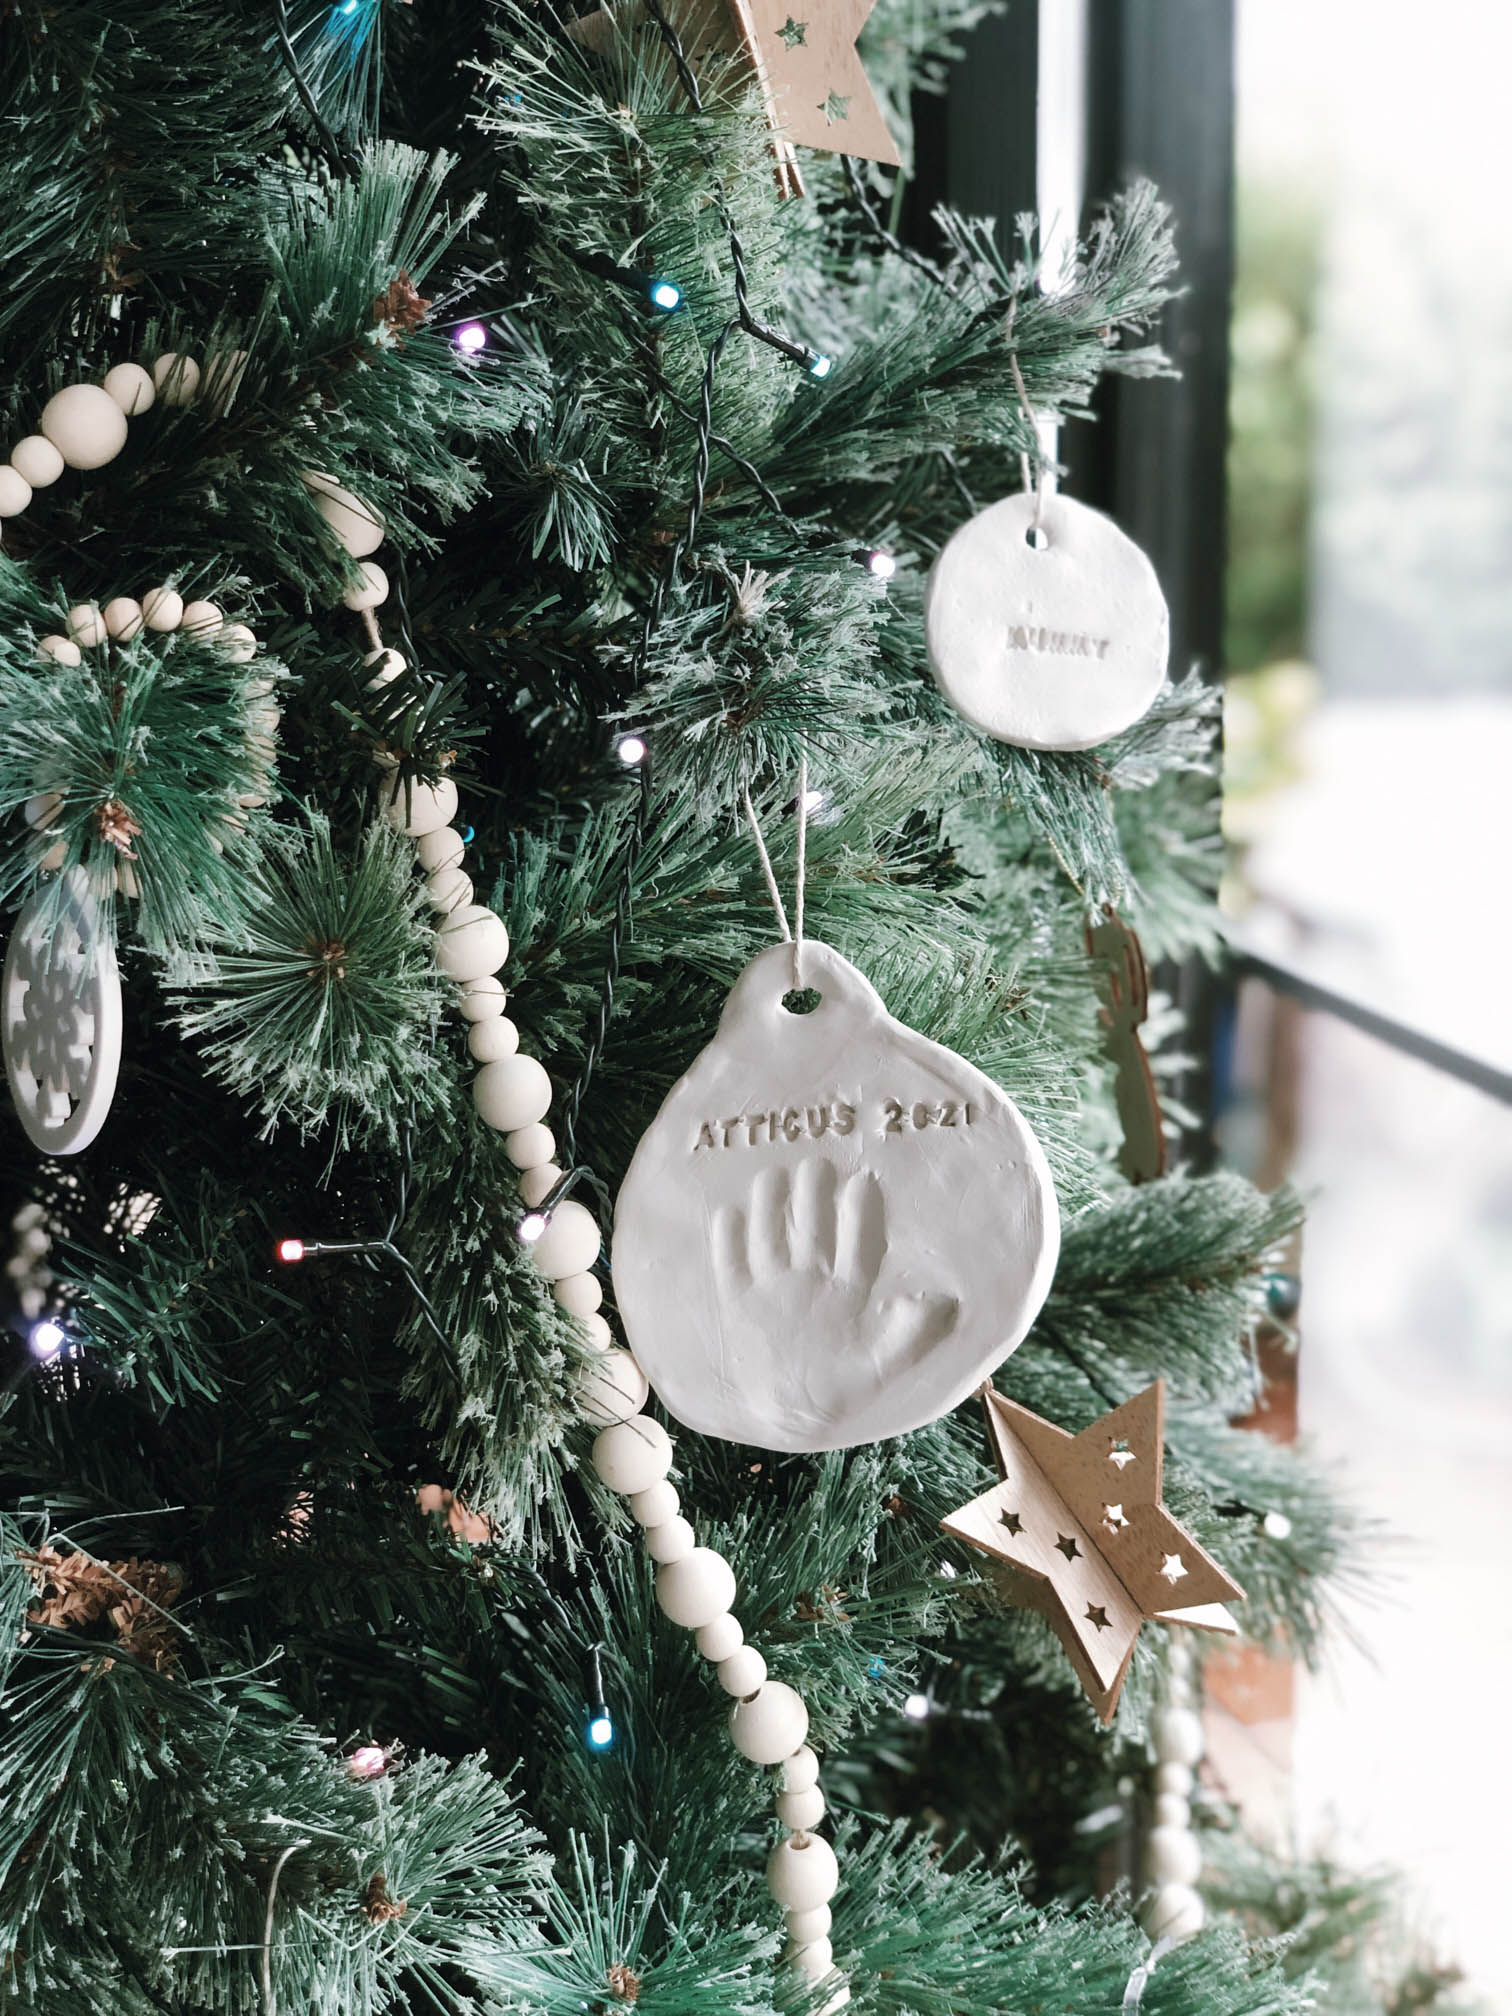
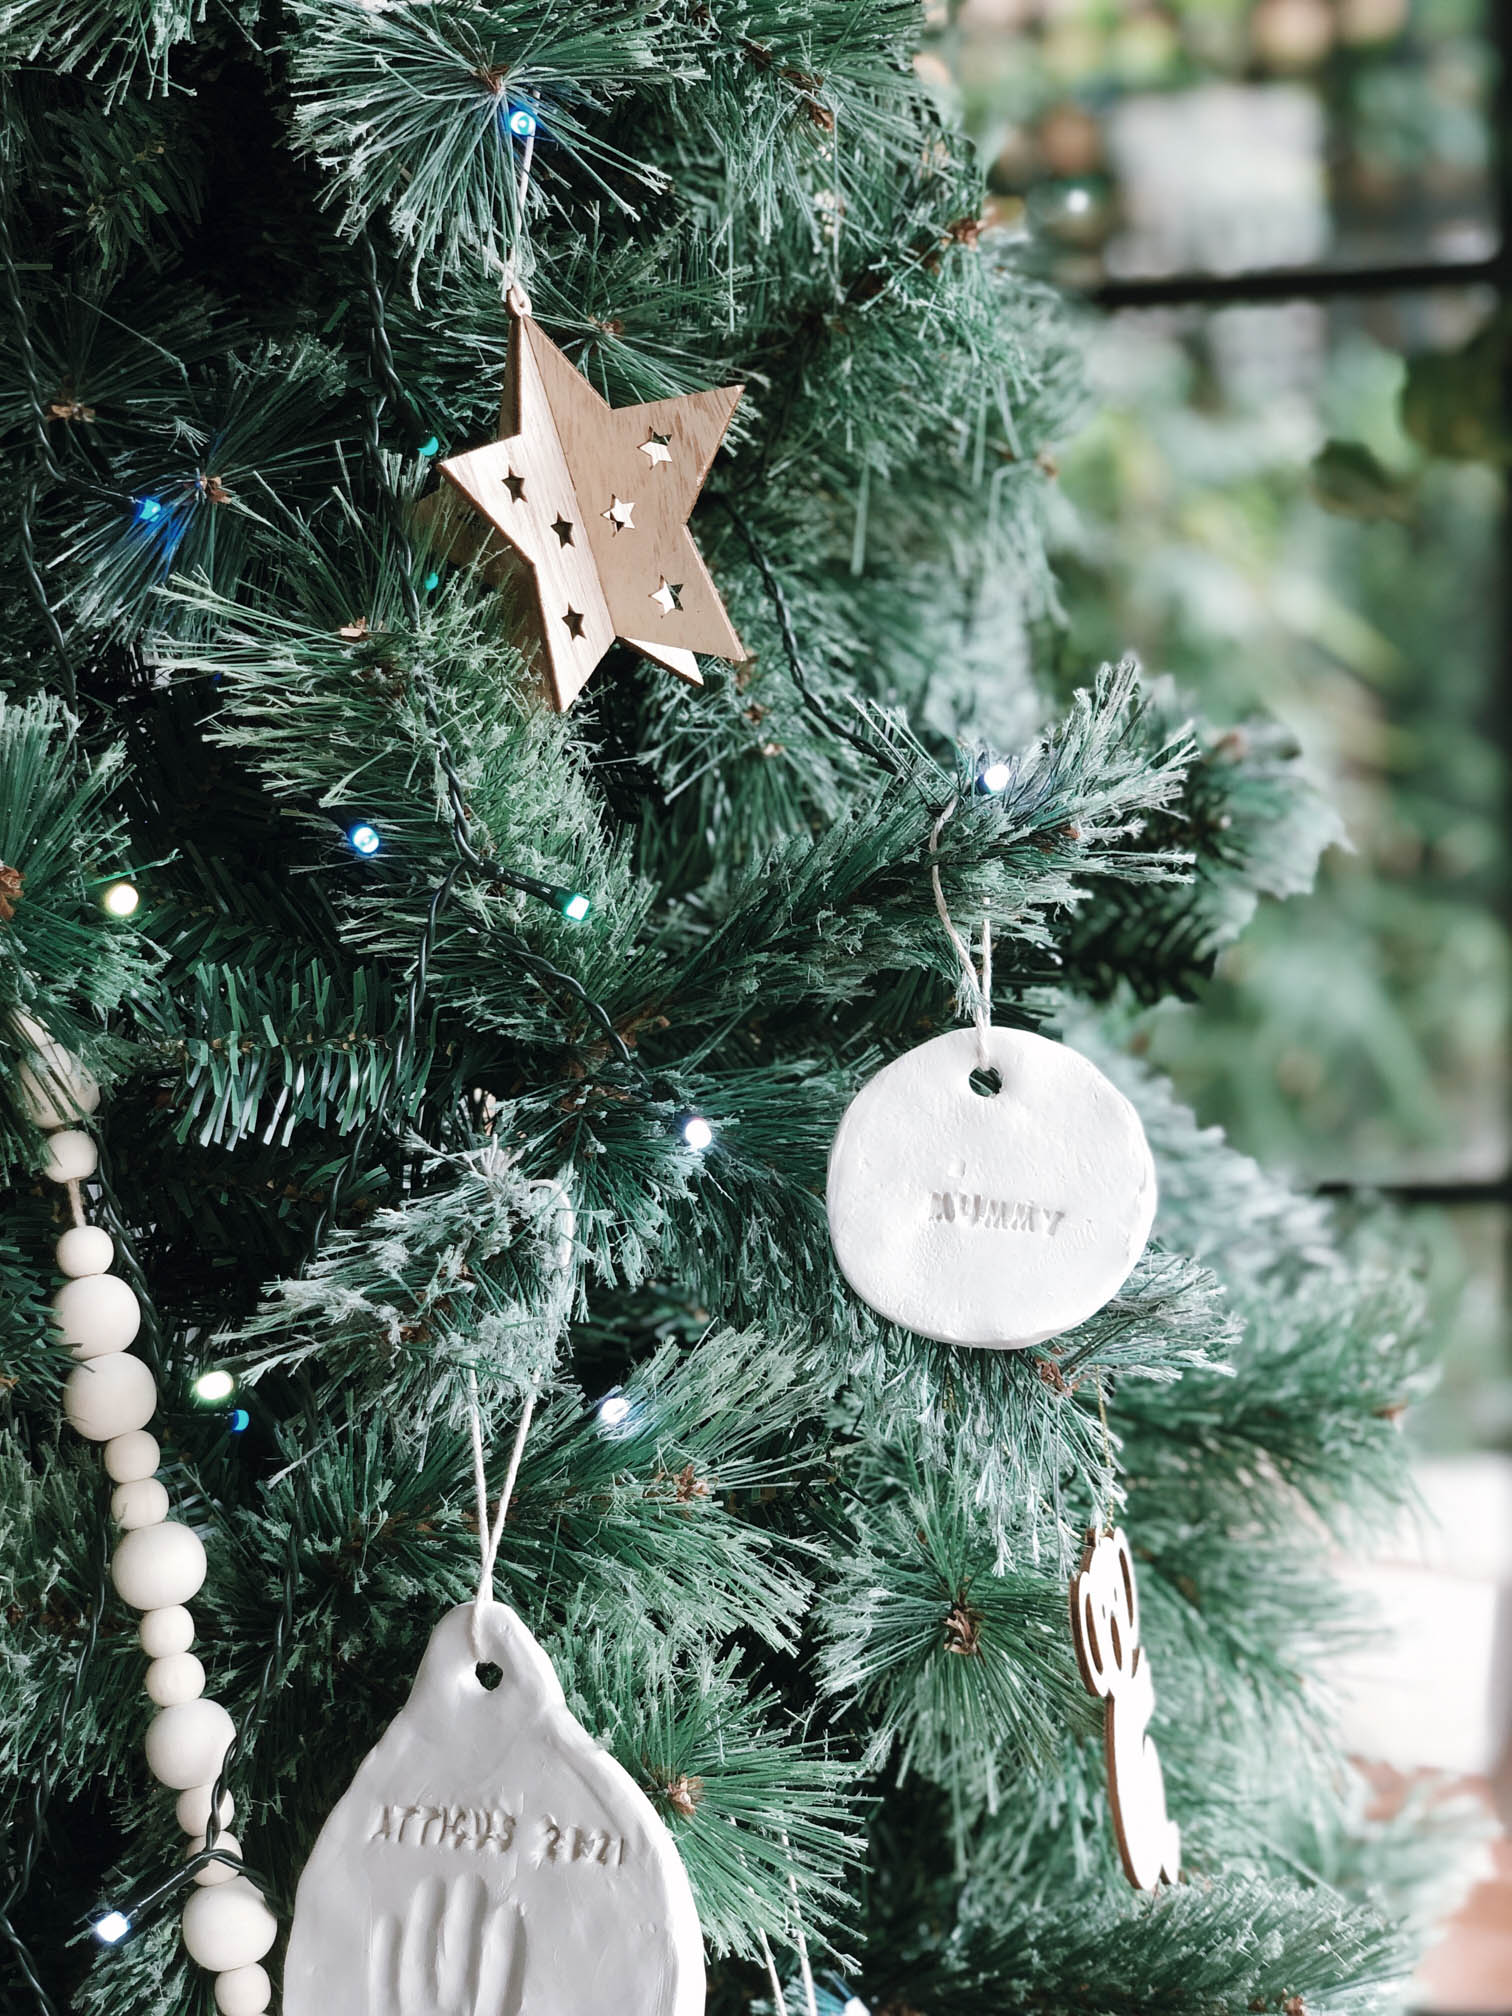
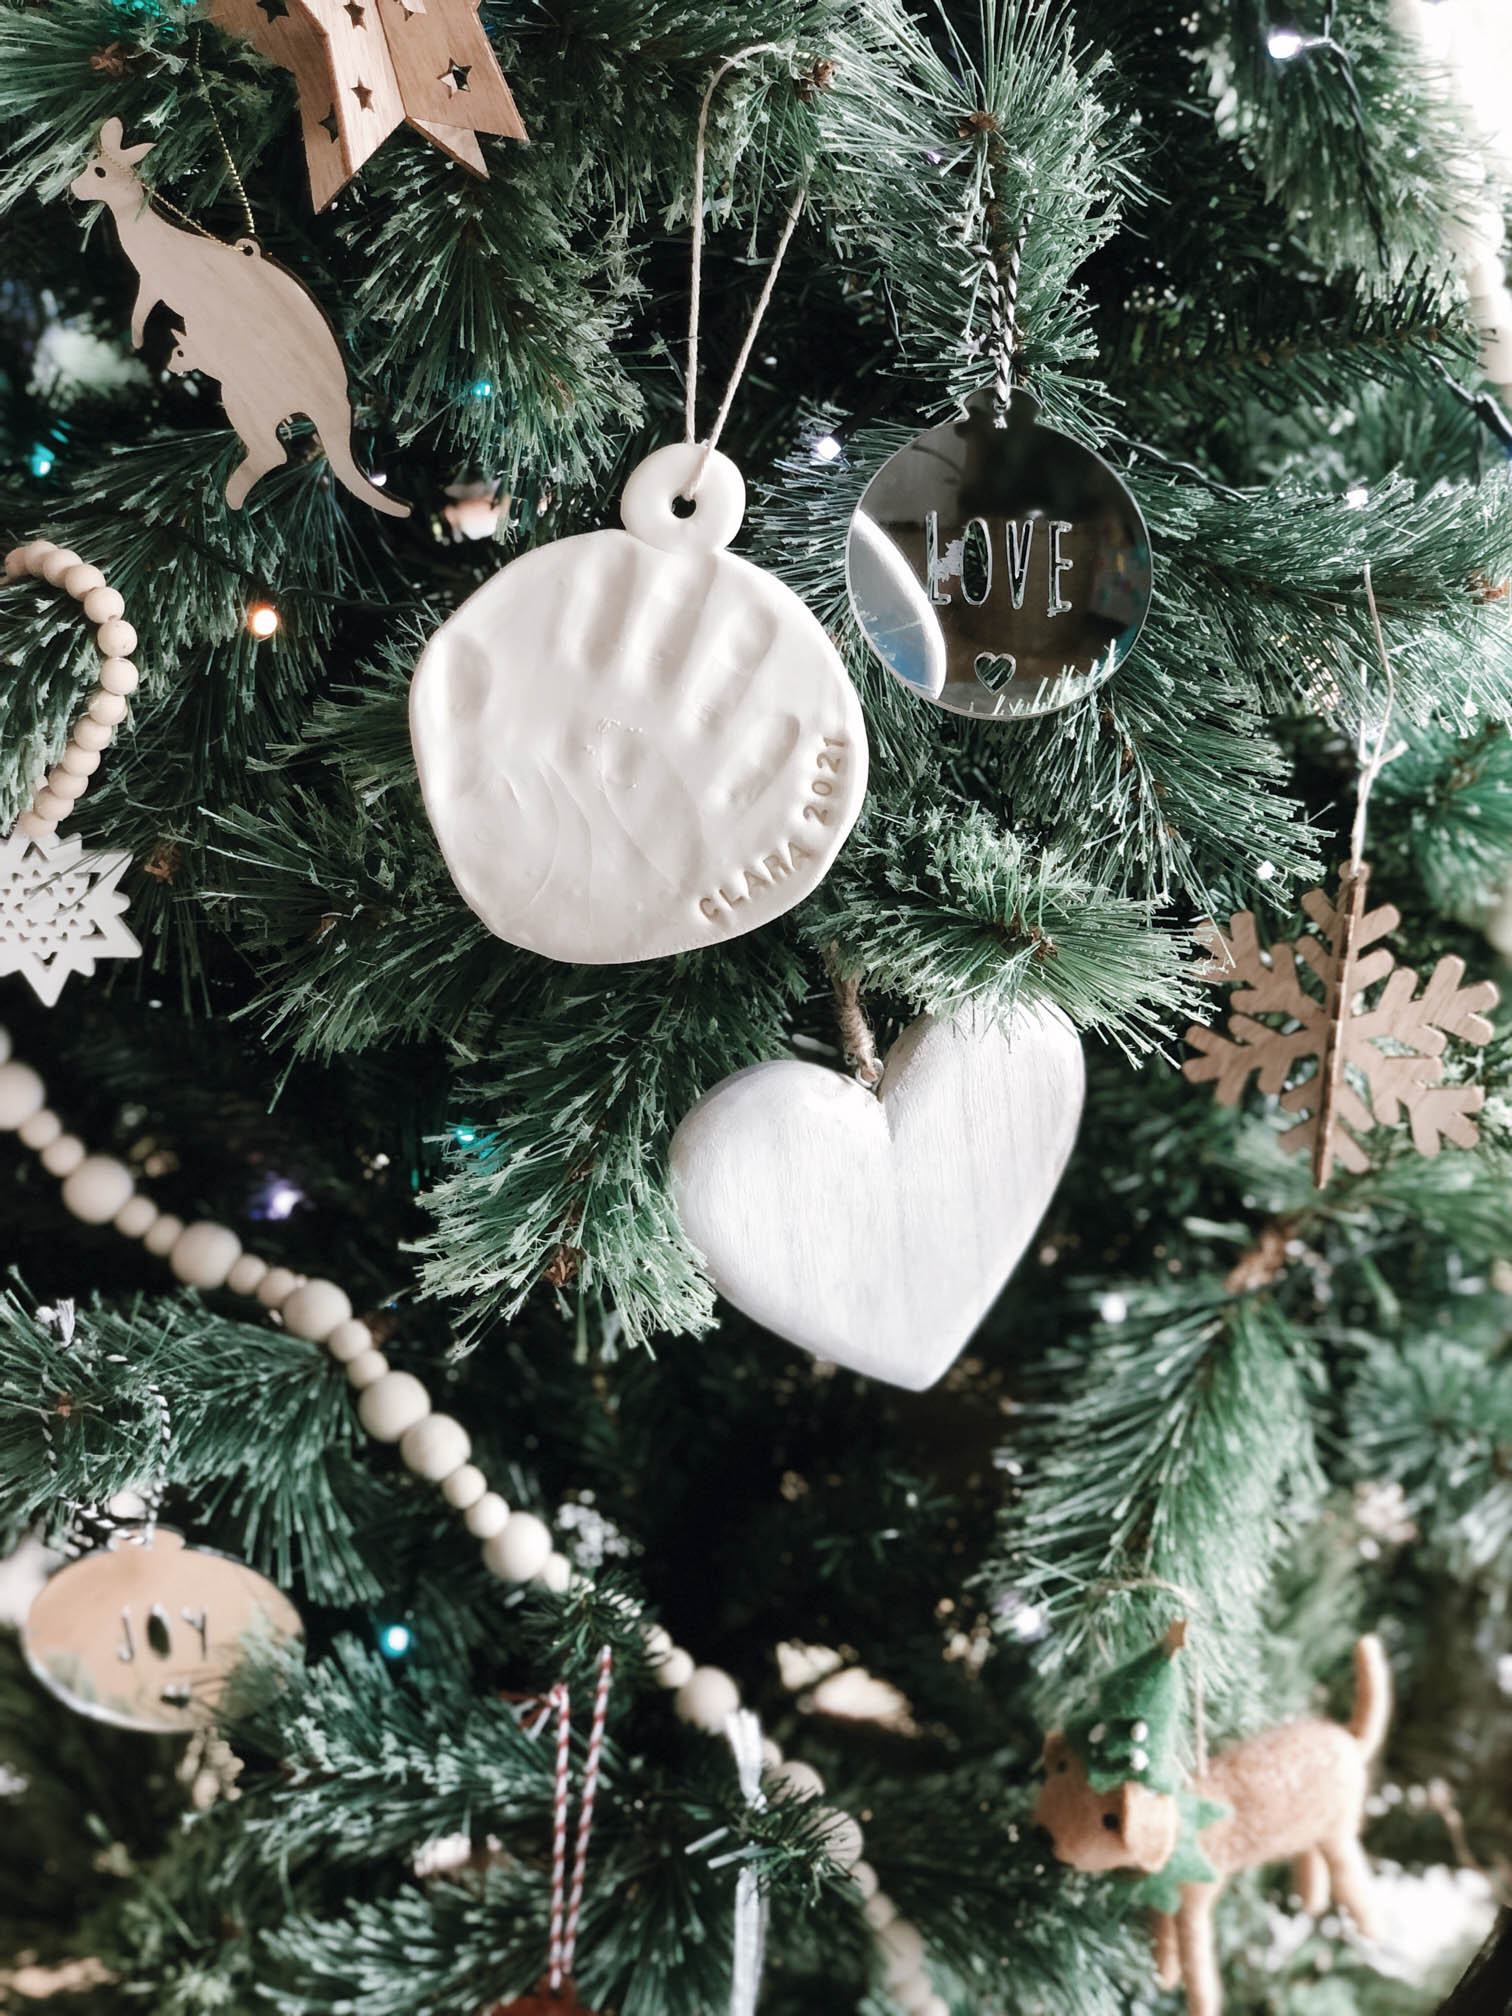
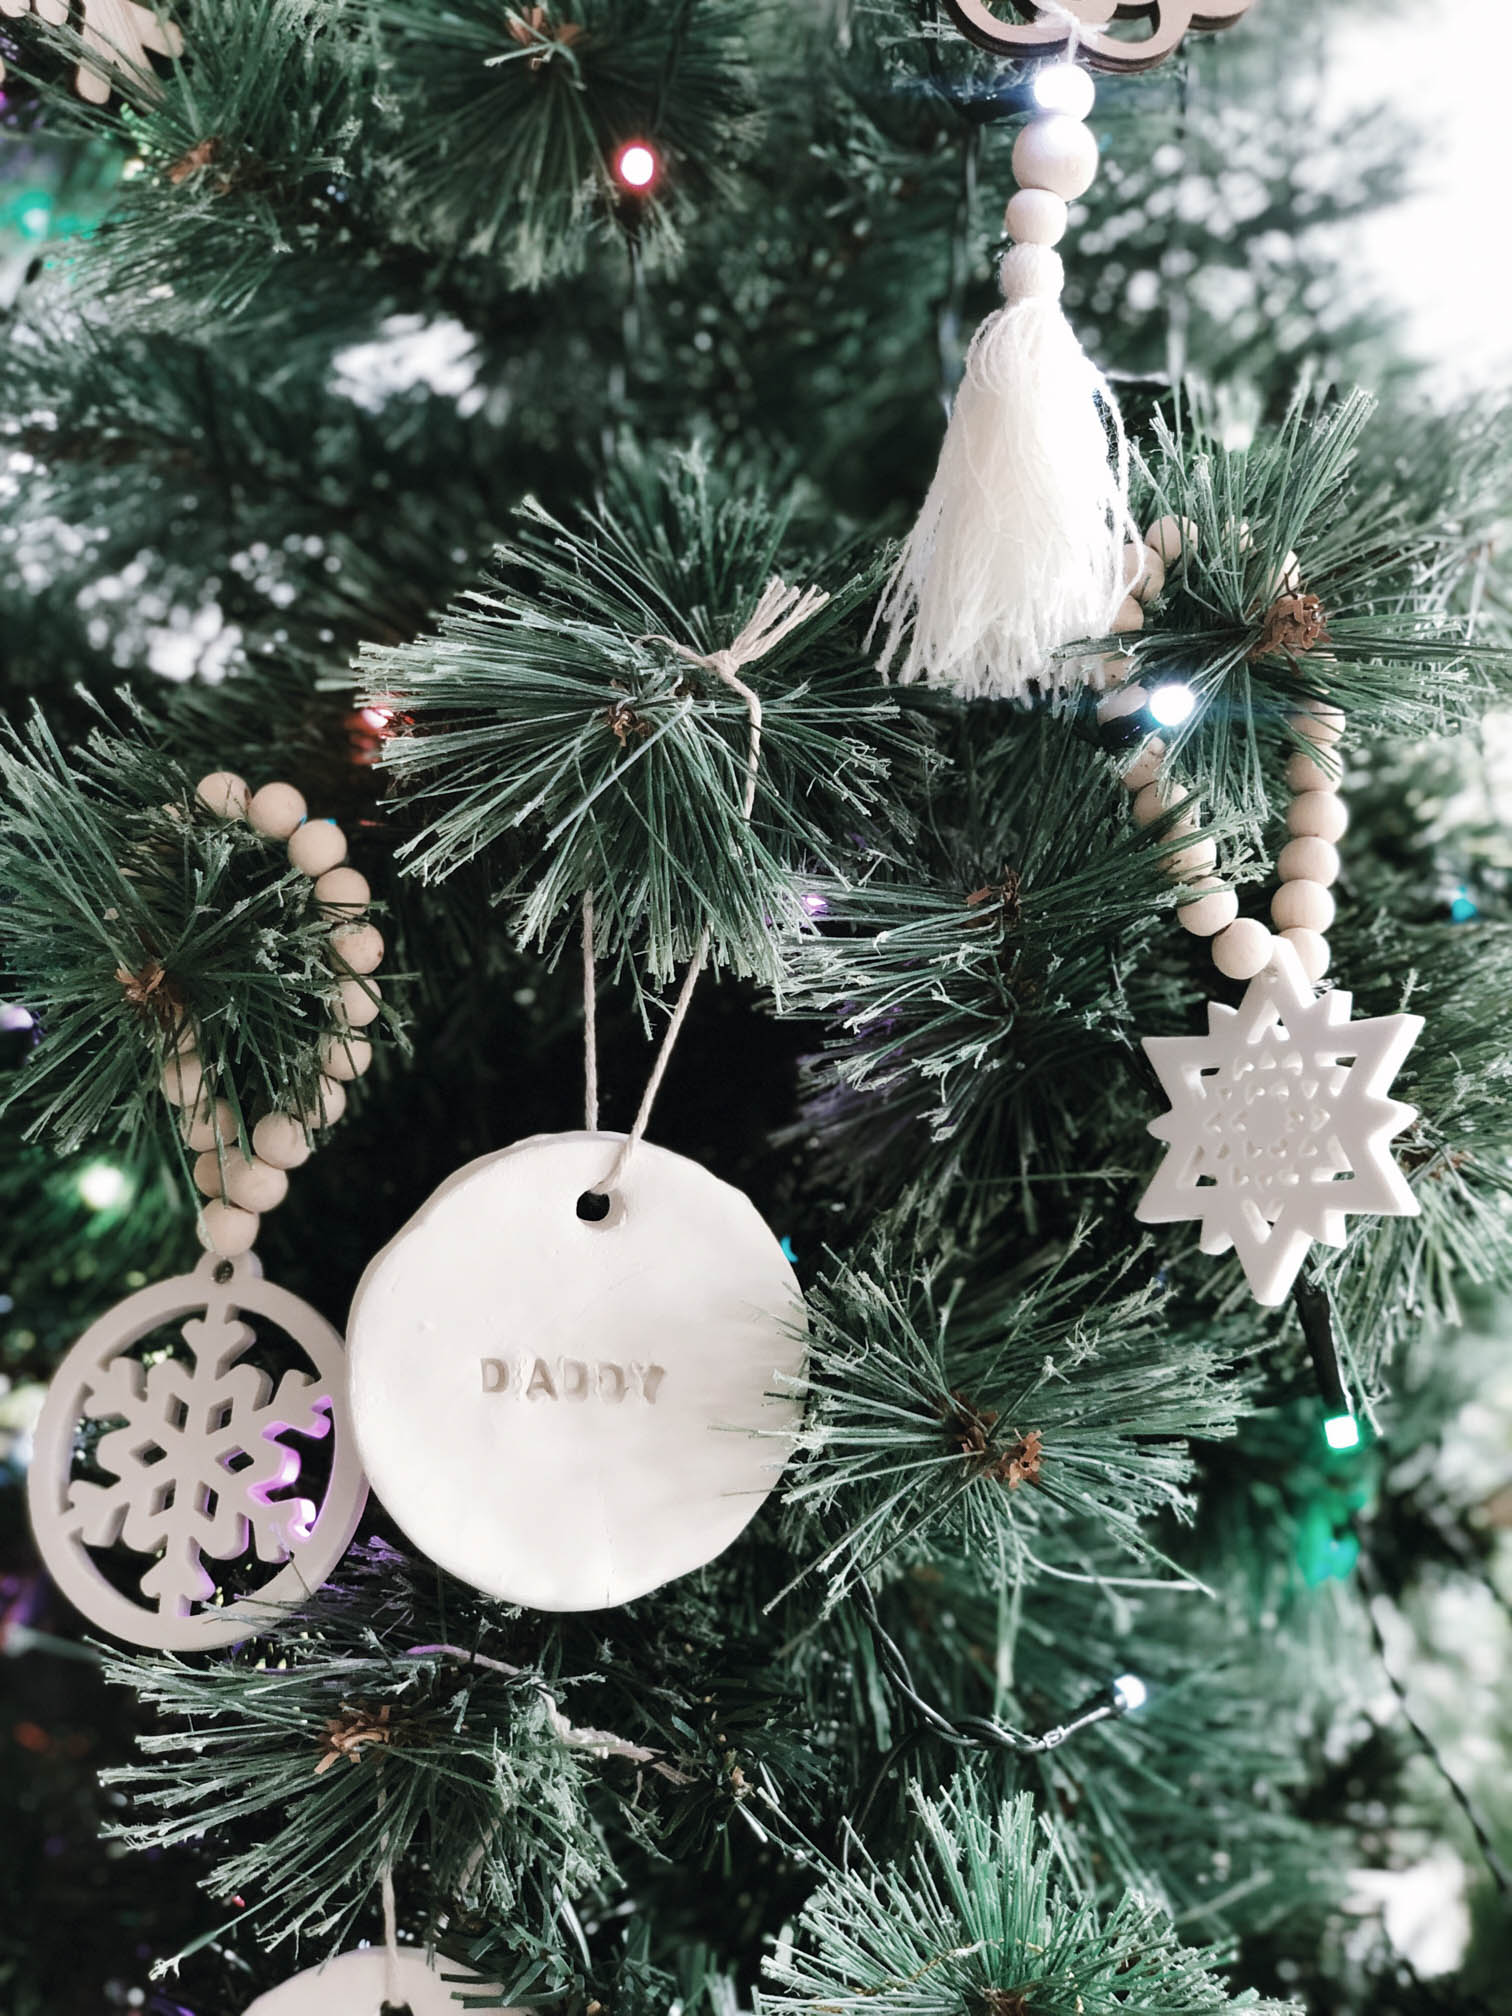
I’m so excited to share my latest DIY Christmas project with you! This is the first year we have a large Christmas Tree (largely due to Clara’s persistence) so I’ve been on the lookout for eco-friendly Christmas ornaments and decorations. Christmas can unintentionally become polluted with plastic, from plastic trees to plastic tinsel and plastic baubles. A really easy way to go plastic-free on your ornaments is to DIY with air-dry clay! This is such a fun project and they also make a special gift or a keepsake you can cherish forever!
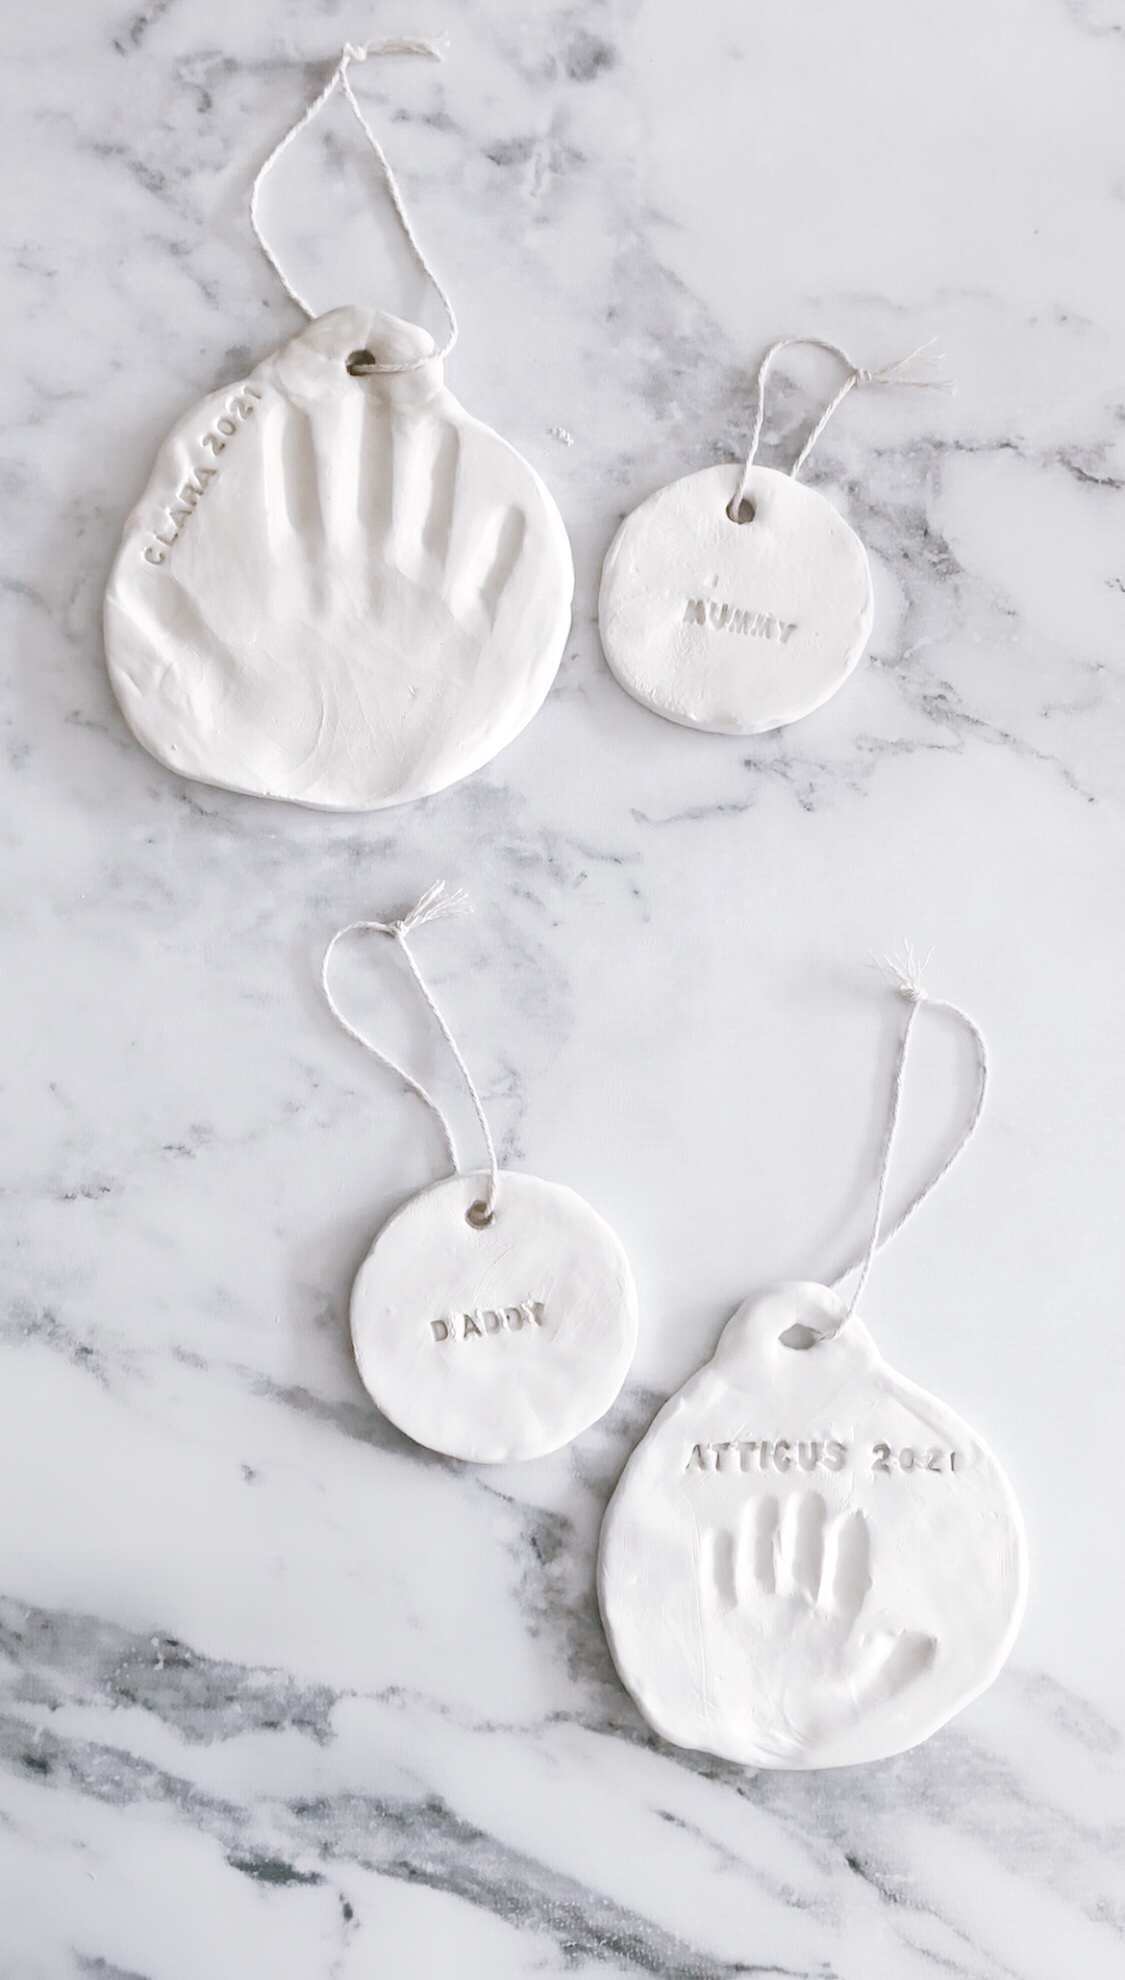
All you need is a block of air-dry clay, a letter & number press kit and some string. You can use cookie cutters if you’re feeling fancy but it’s optional. Read on to find out how you can make these easy yet gorgeous DIY Christmas ornaments!
Materials
- Air dry clay (I got mine from Bunnings – 1kg for $9.98; it is also available at Big W or craft stores)
- Letter & number press kit (I got mine from Big W for $7 – look in the baking section)
- String
- Rolling pin
- Cookie cutter
- Baking mat or a smooth surface
- Straw to puncture a hole
- Mod Podge to seal the clay (optional; this is available from Bunnings or craft stores)
How To Make DIY Christmas Air-Dry Clay Ornaments
1 Take a small amount of clay and keep the rest covered beneath a wet tea towel to ensure it doesn’t dry out. Roll the clay into a ball then flatten with a rolling pin. Keep the shape organic or use a mold / cookie cutter to cut out your desired shape.
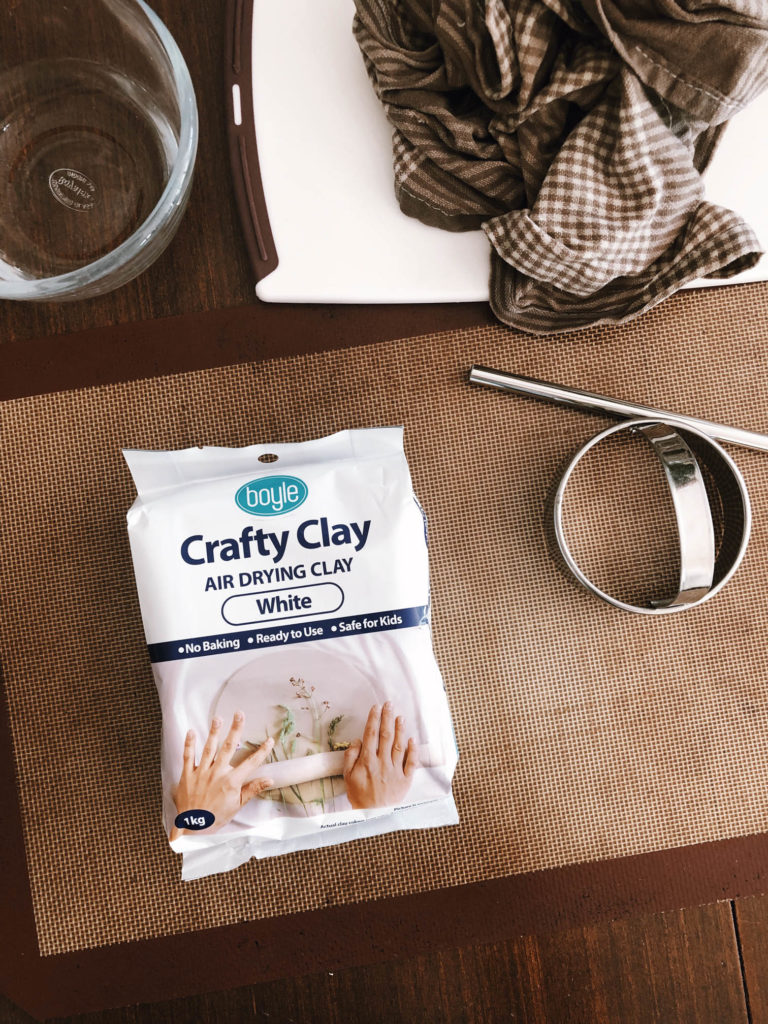
Air Dry Clay is available at Bunnings and craft stores 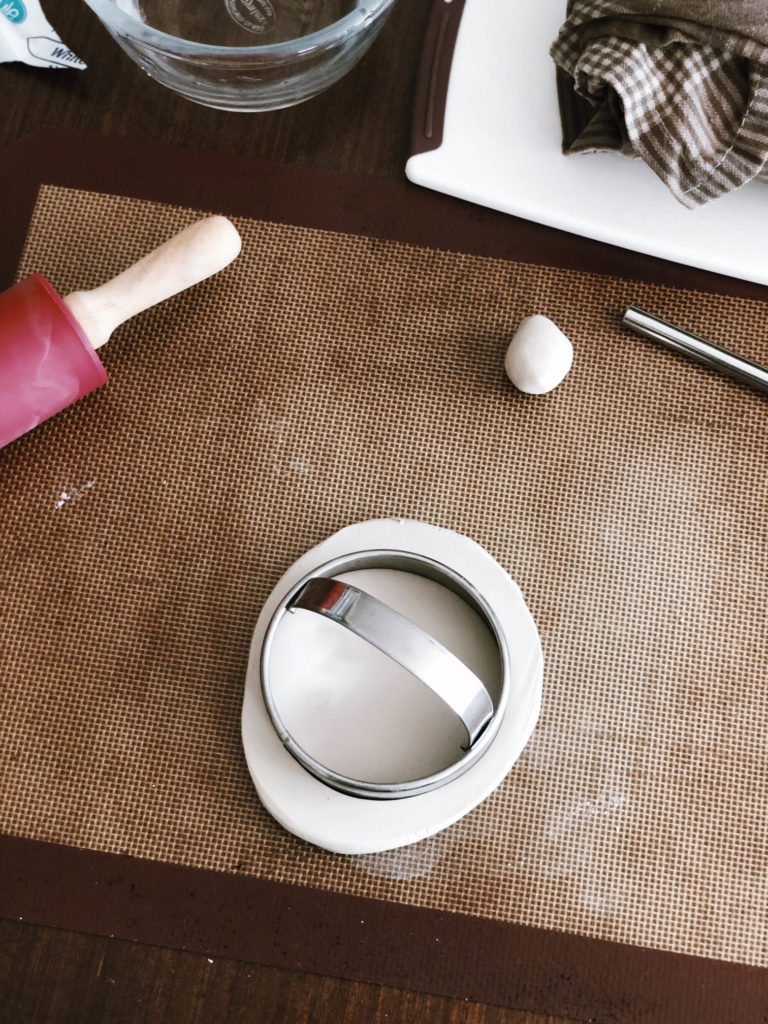
Use a cookie cutter or use your hands to mold the clay
2 Use a straw to puncture a hole at the top. If the hole looks a bit messy, you can dip your finger into a bit of water to smooth over the clay.
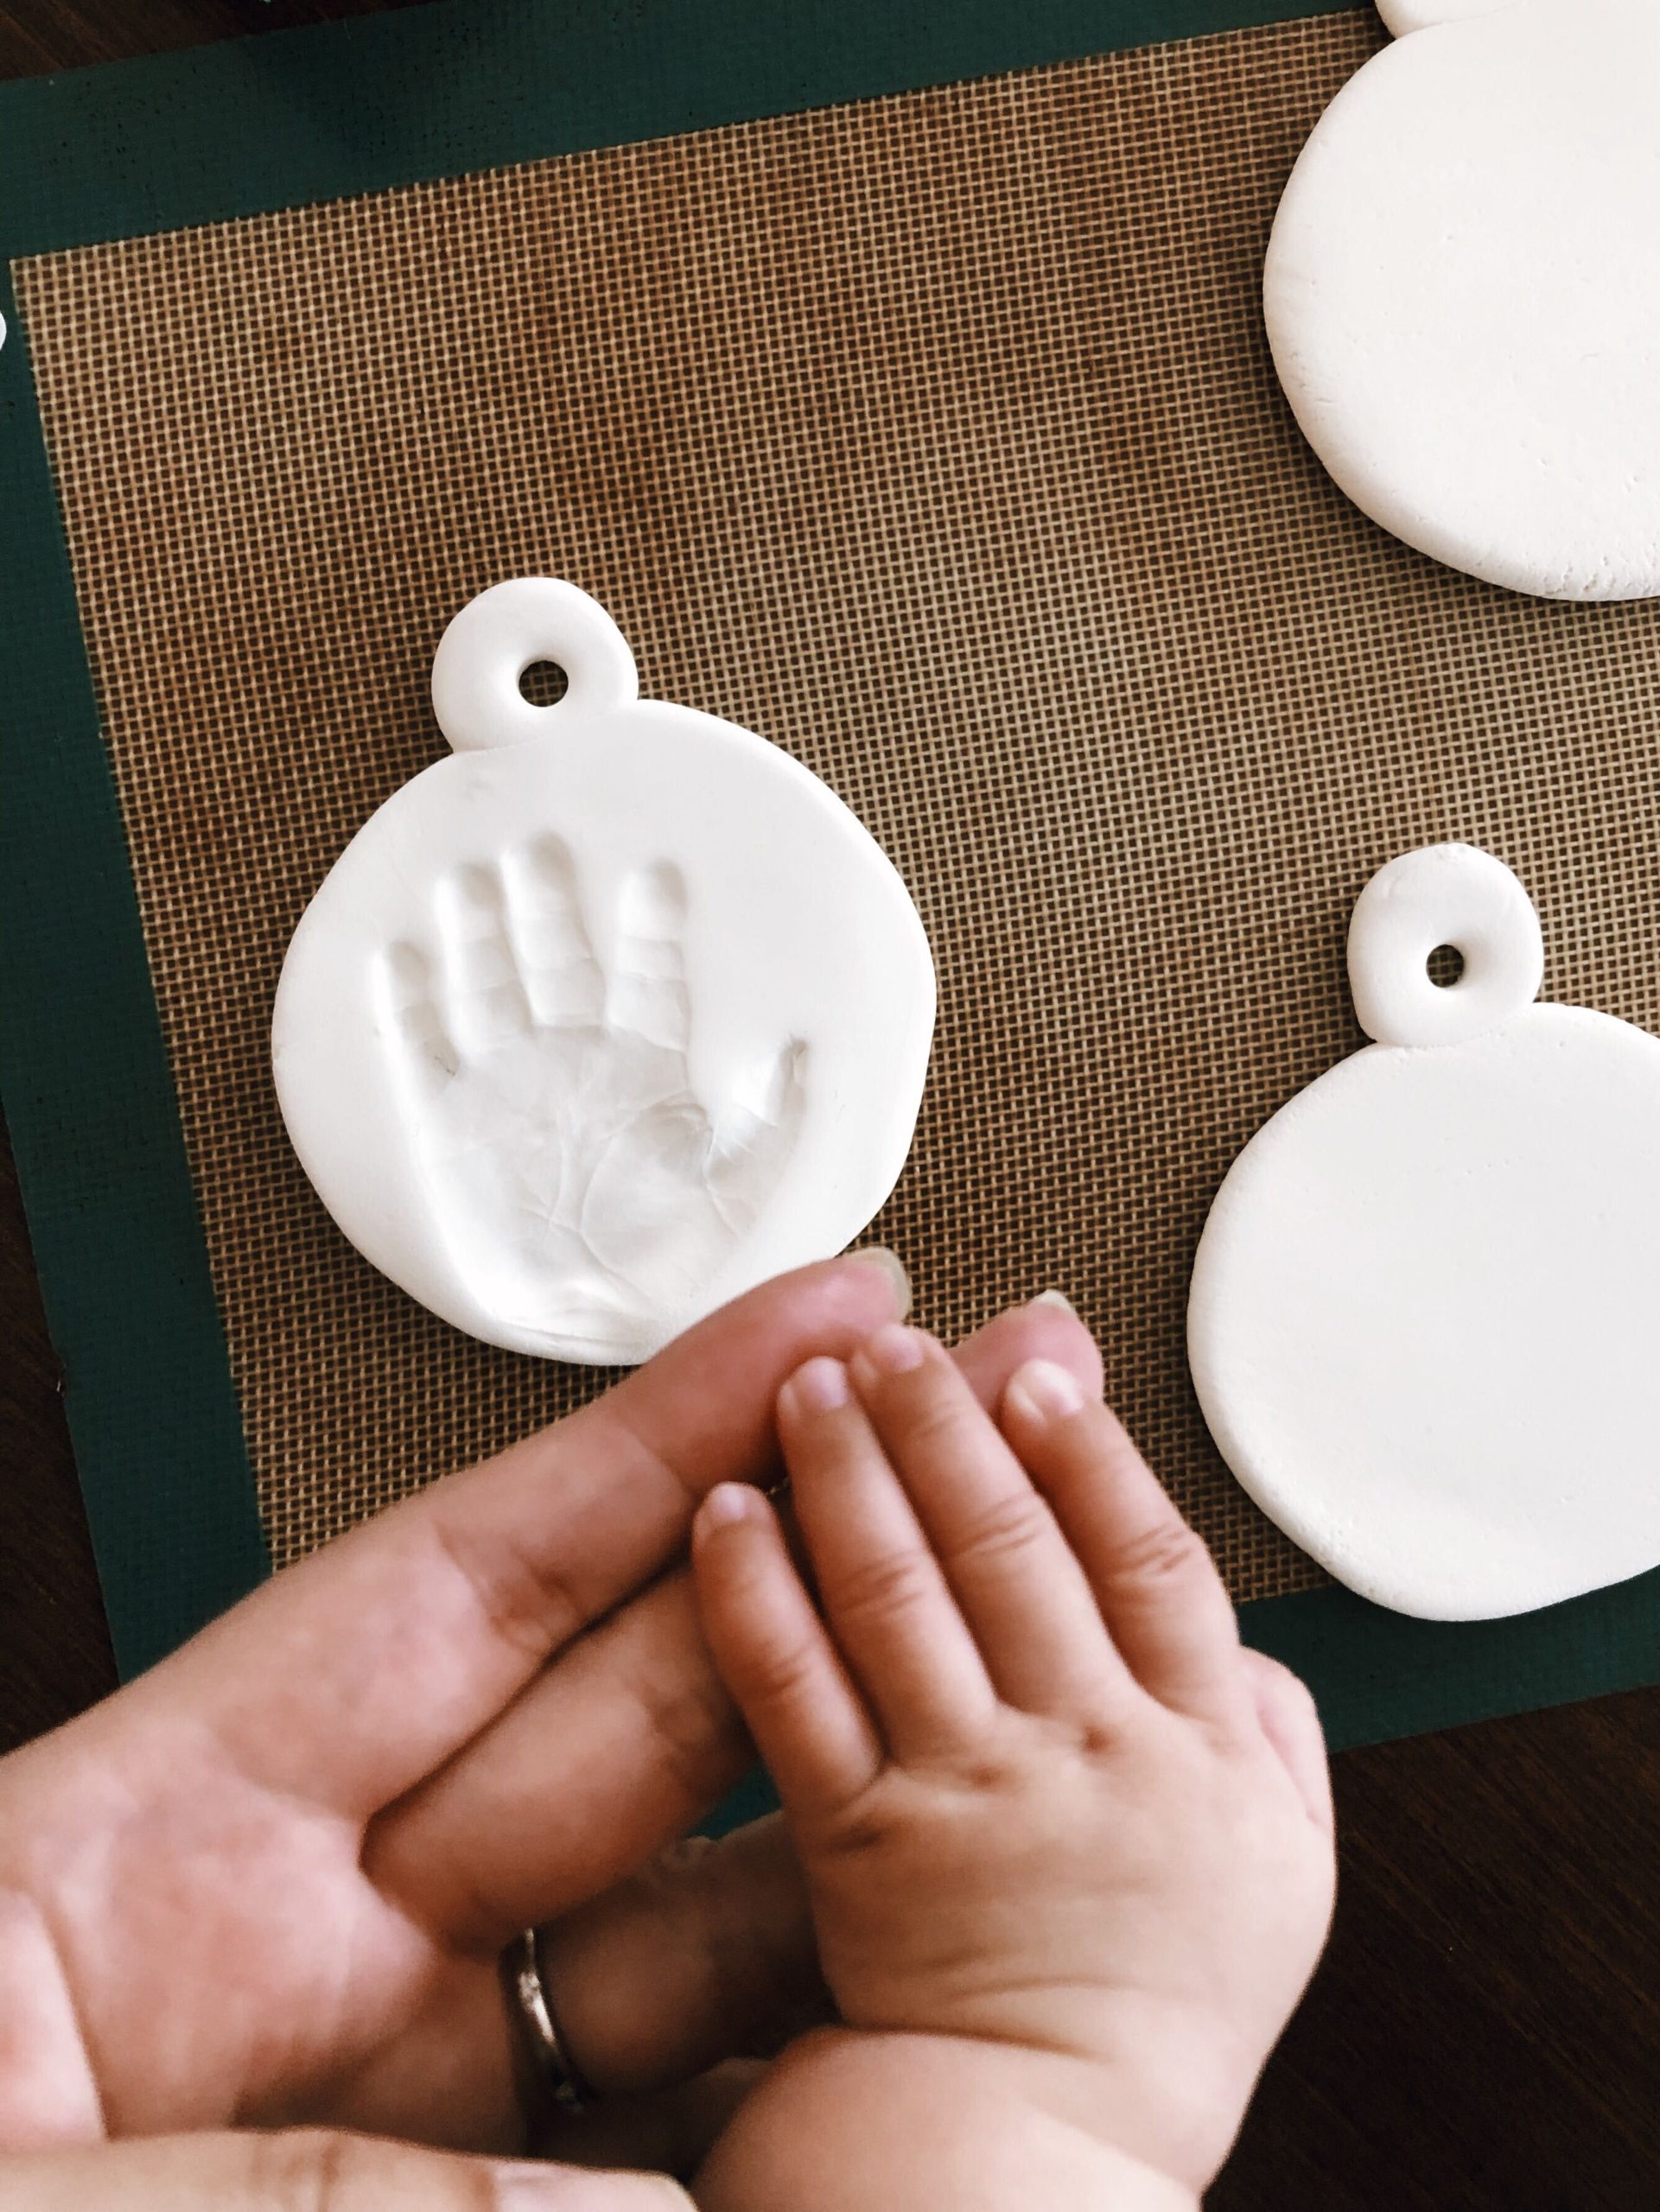
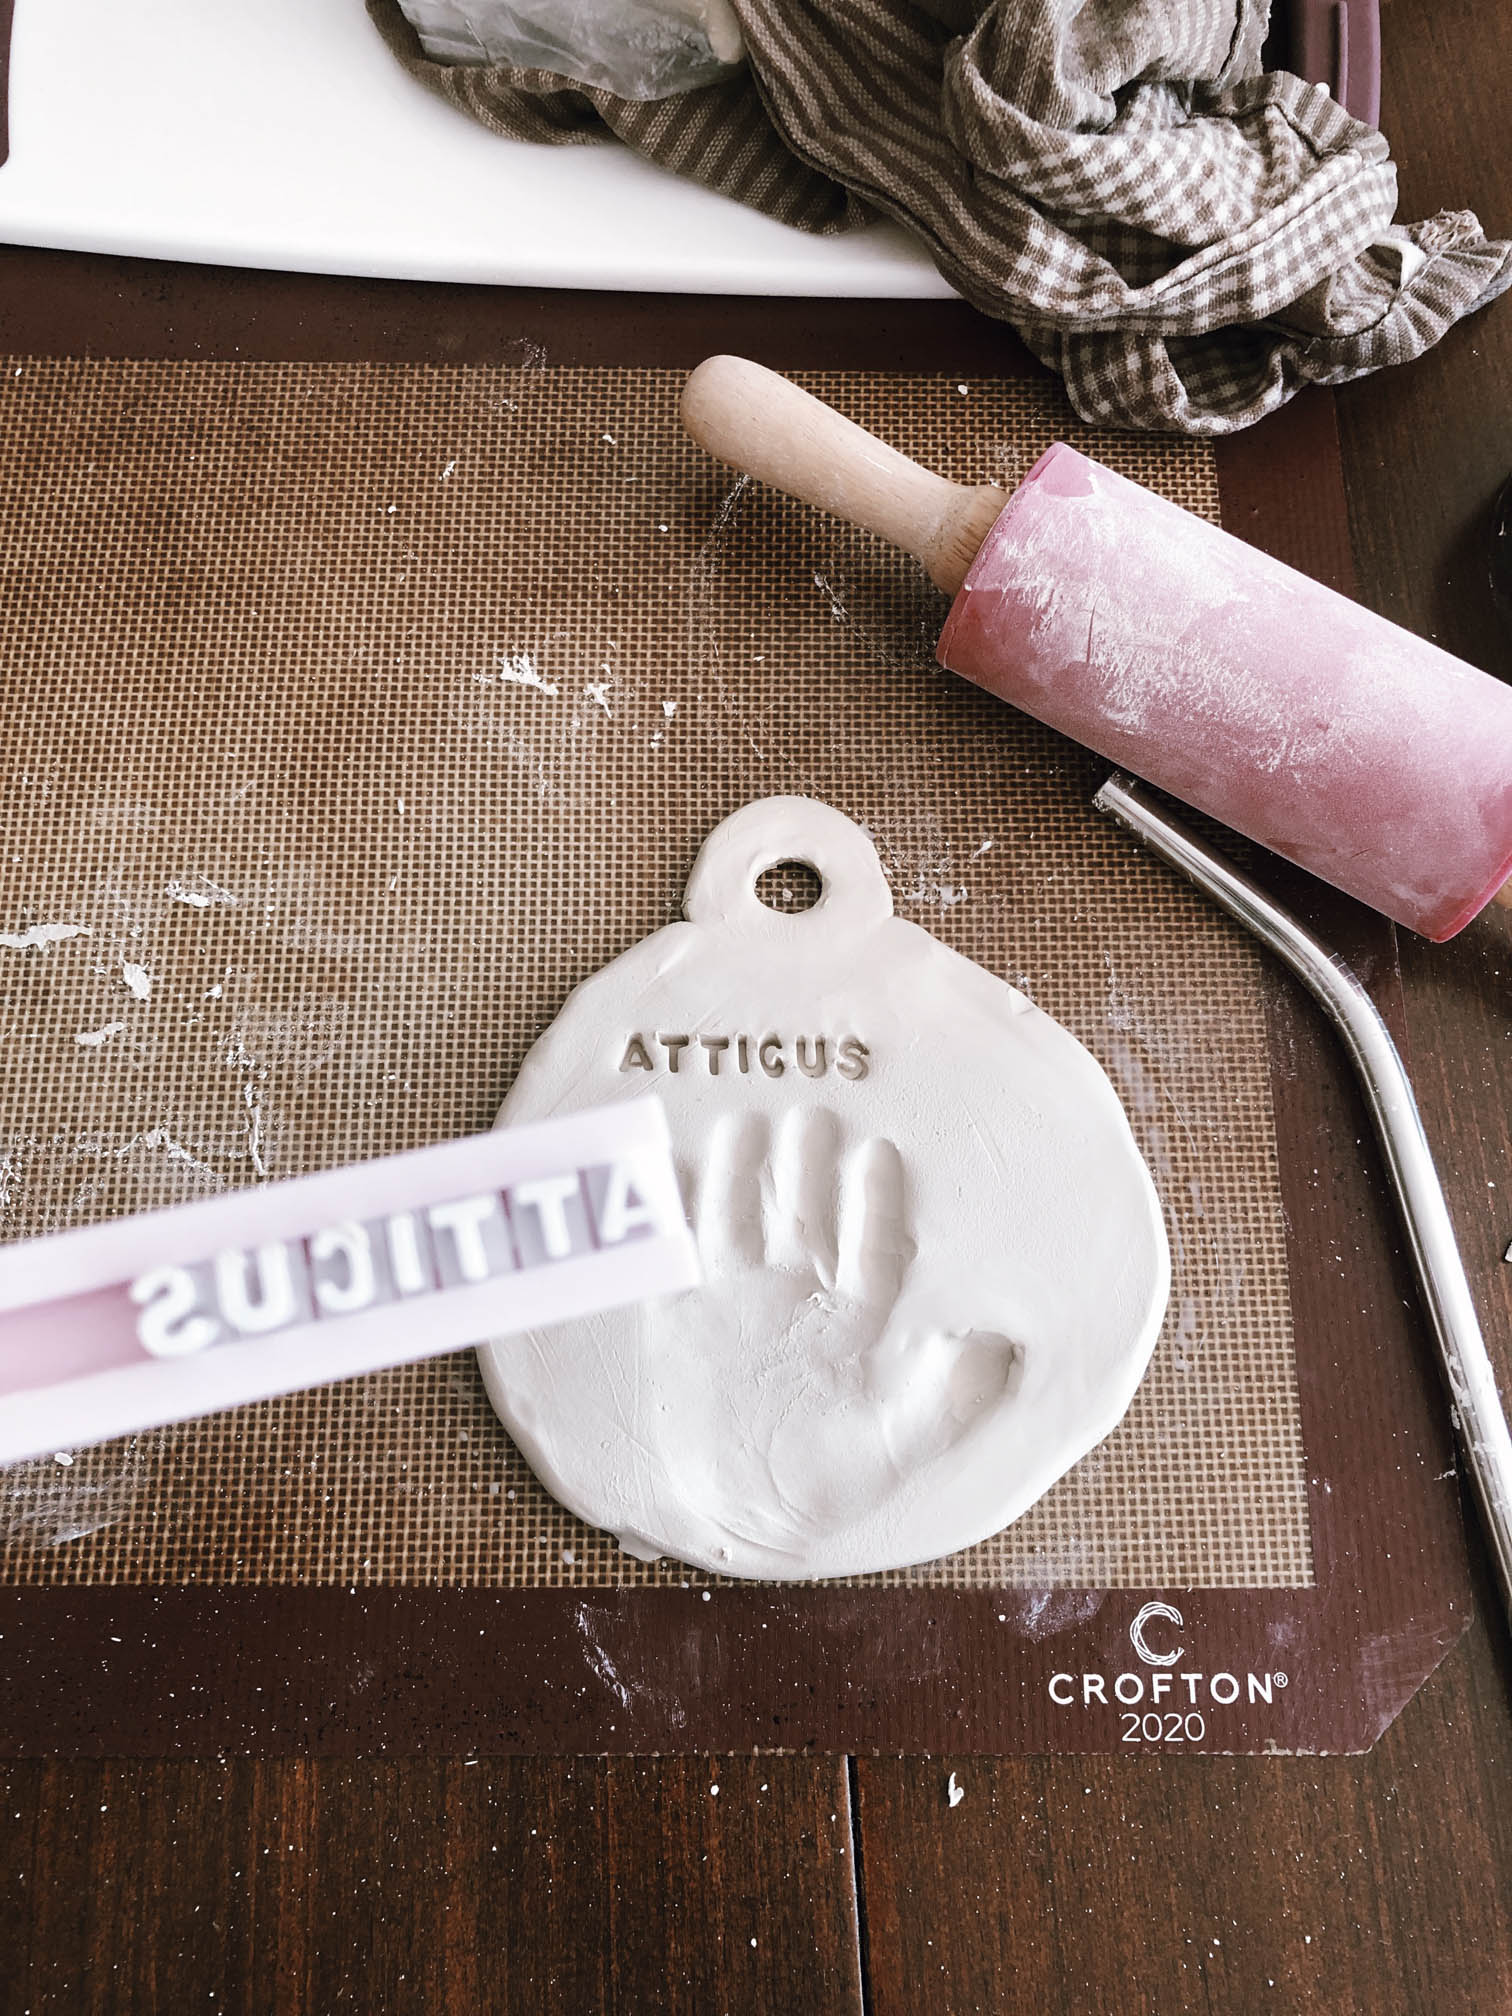
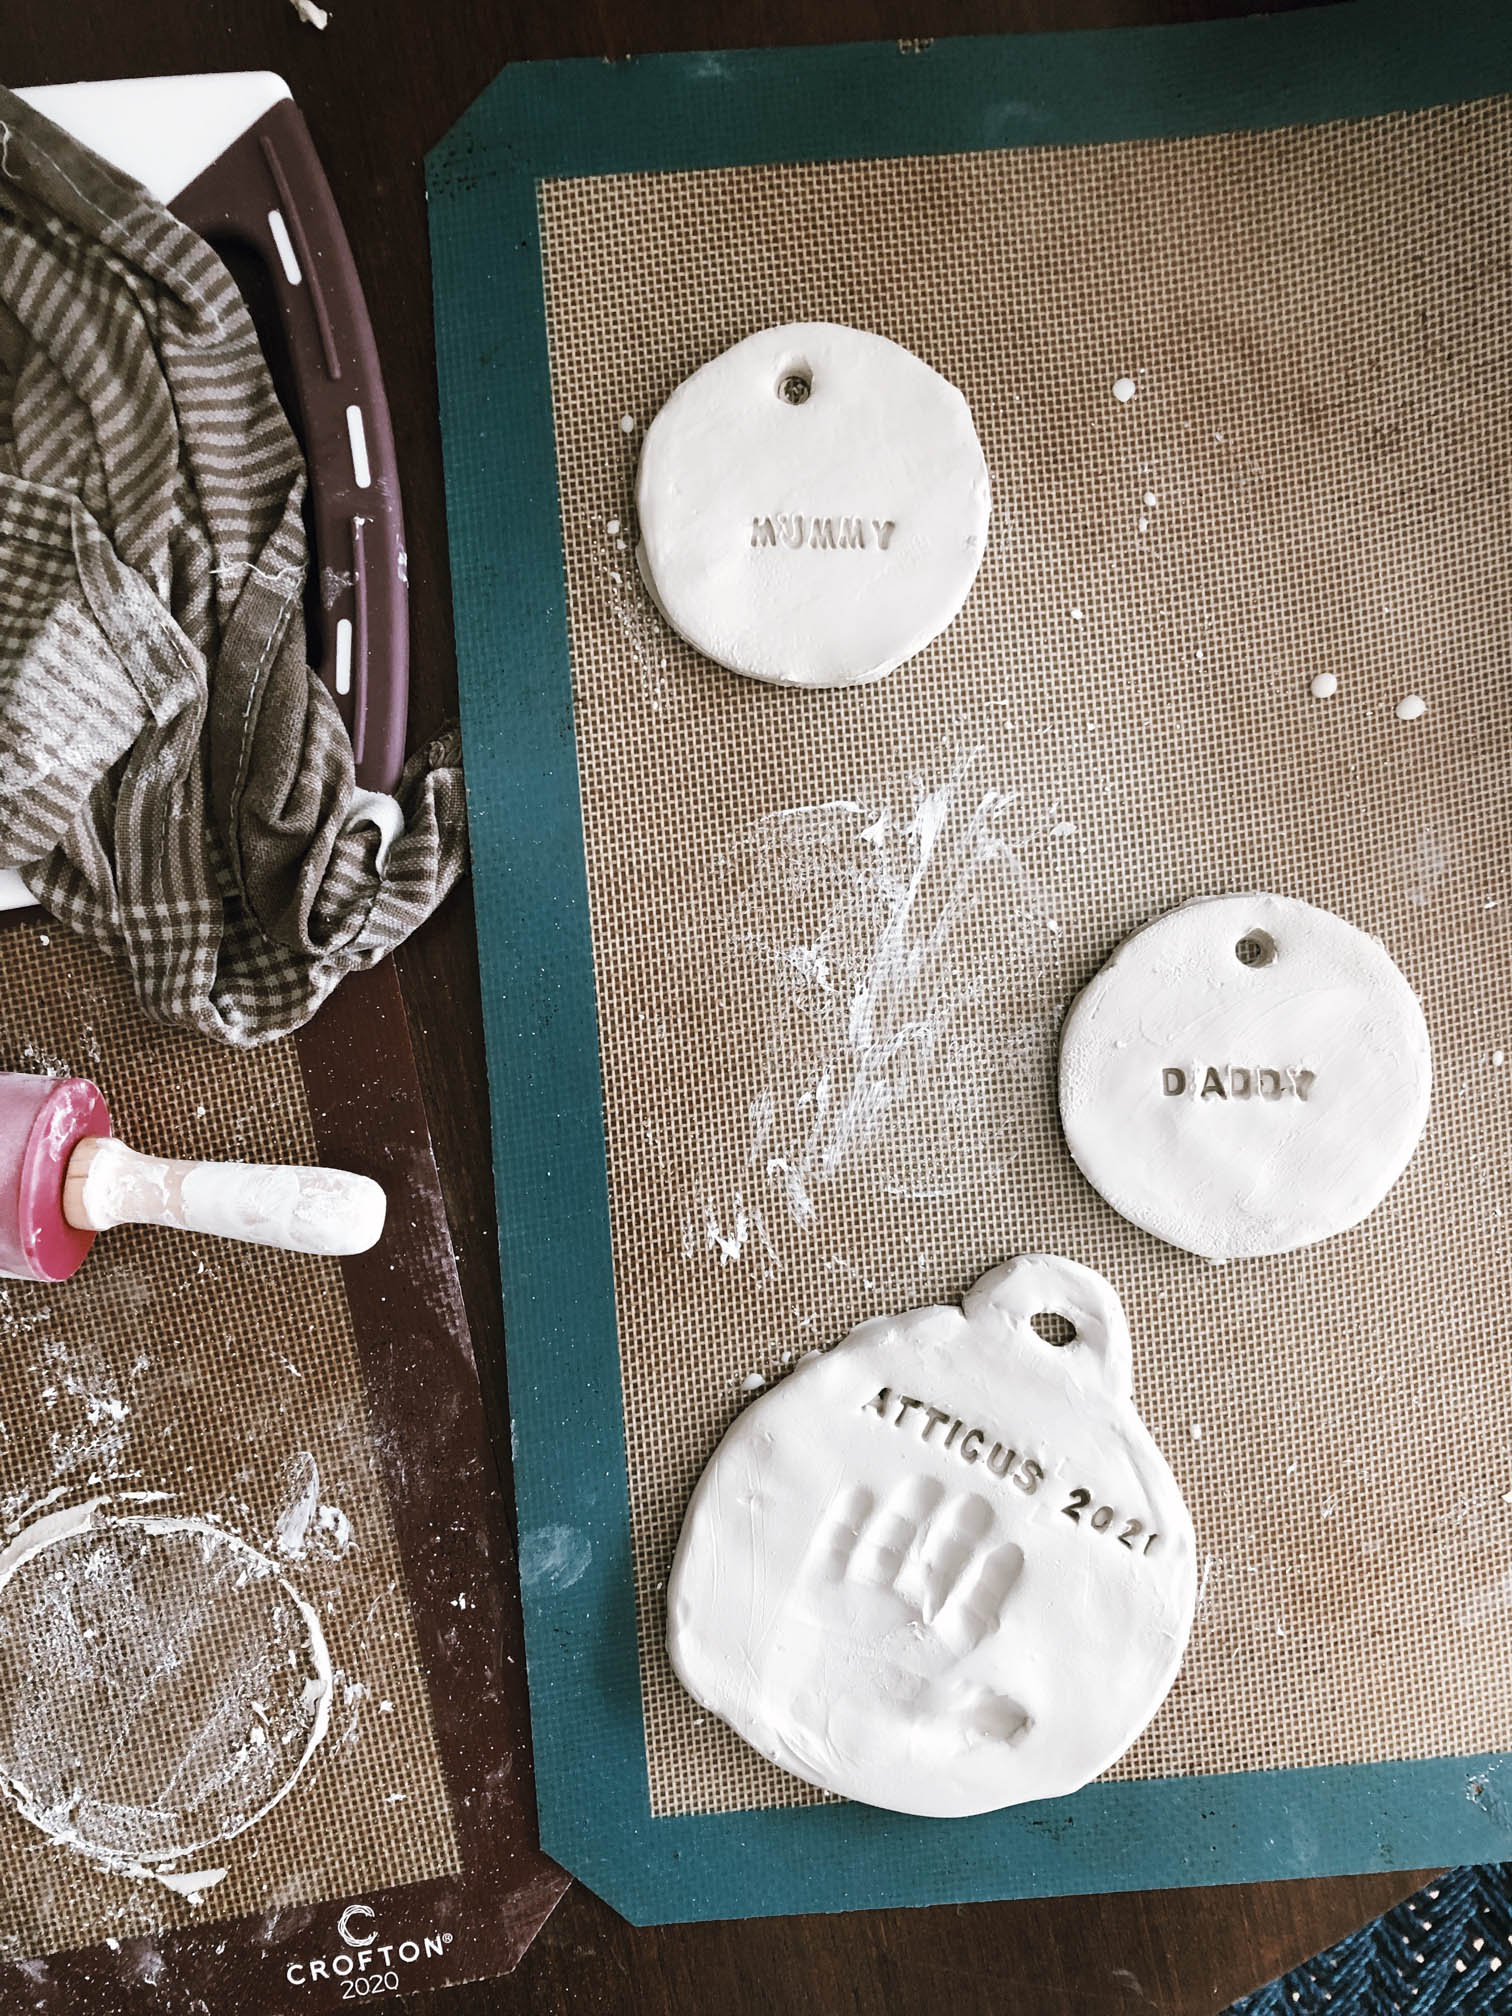
3Decorate the ornament accordingly. To stamp a name or message, insert the letters into the letter press kit backwards and press gently into the clay. You can also turn these ornaments into keepsakes by making an imprint of your little ones’ handprint or footprint.
4You can let the clay air-dry for 24-72 hours or to fast-track the process, place the ornaments into a cold oven and bake at 95°C/200°F for 15 minutes or until dry. The amount of time will depend on the size and thickness of your ornament. If cracks appear, touch-up the ornament with a small amount of clay and use a few drops of water to smooth over the surface. Optional step: seal the ornament with Mod Podge for a glossy or matte finish.

DID YOU MAKE THIS? Share your creations by tagging @ontheslowlane on Instagram with the hashtag #ontheslowlane


