


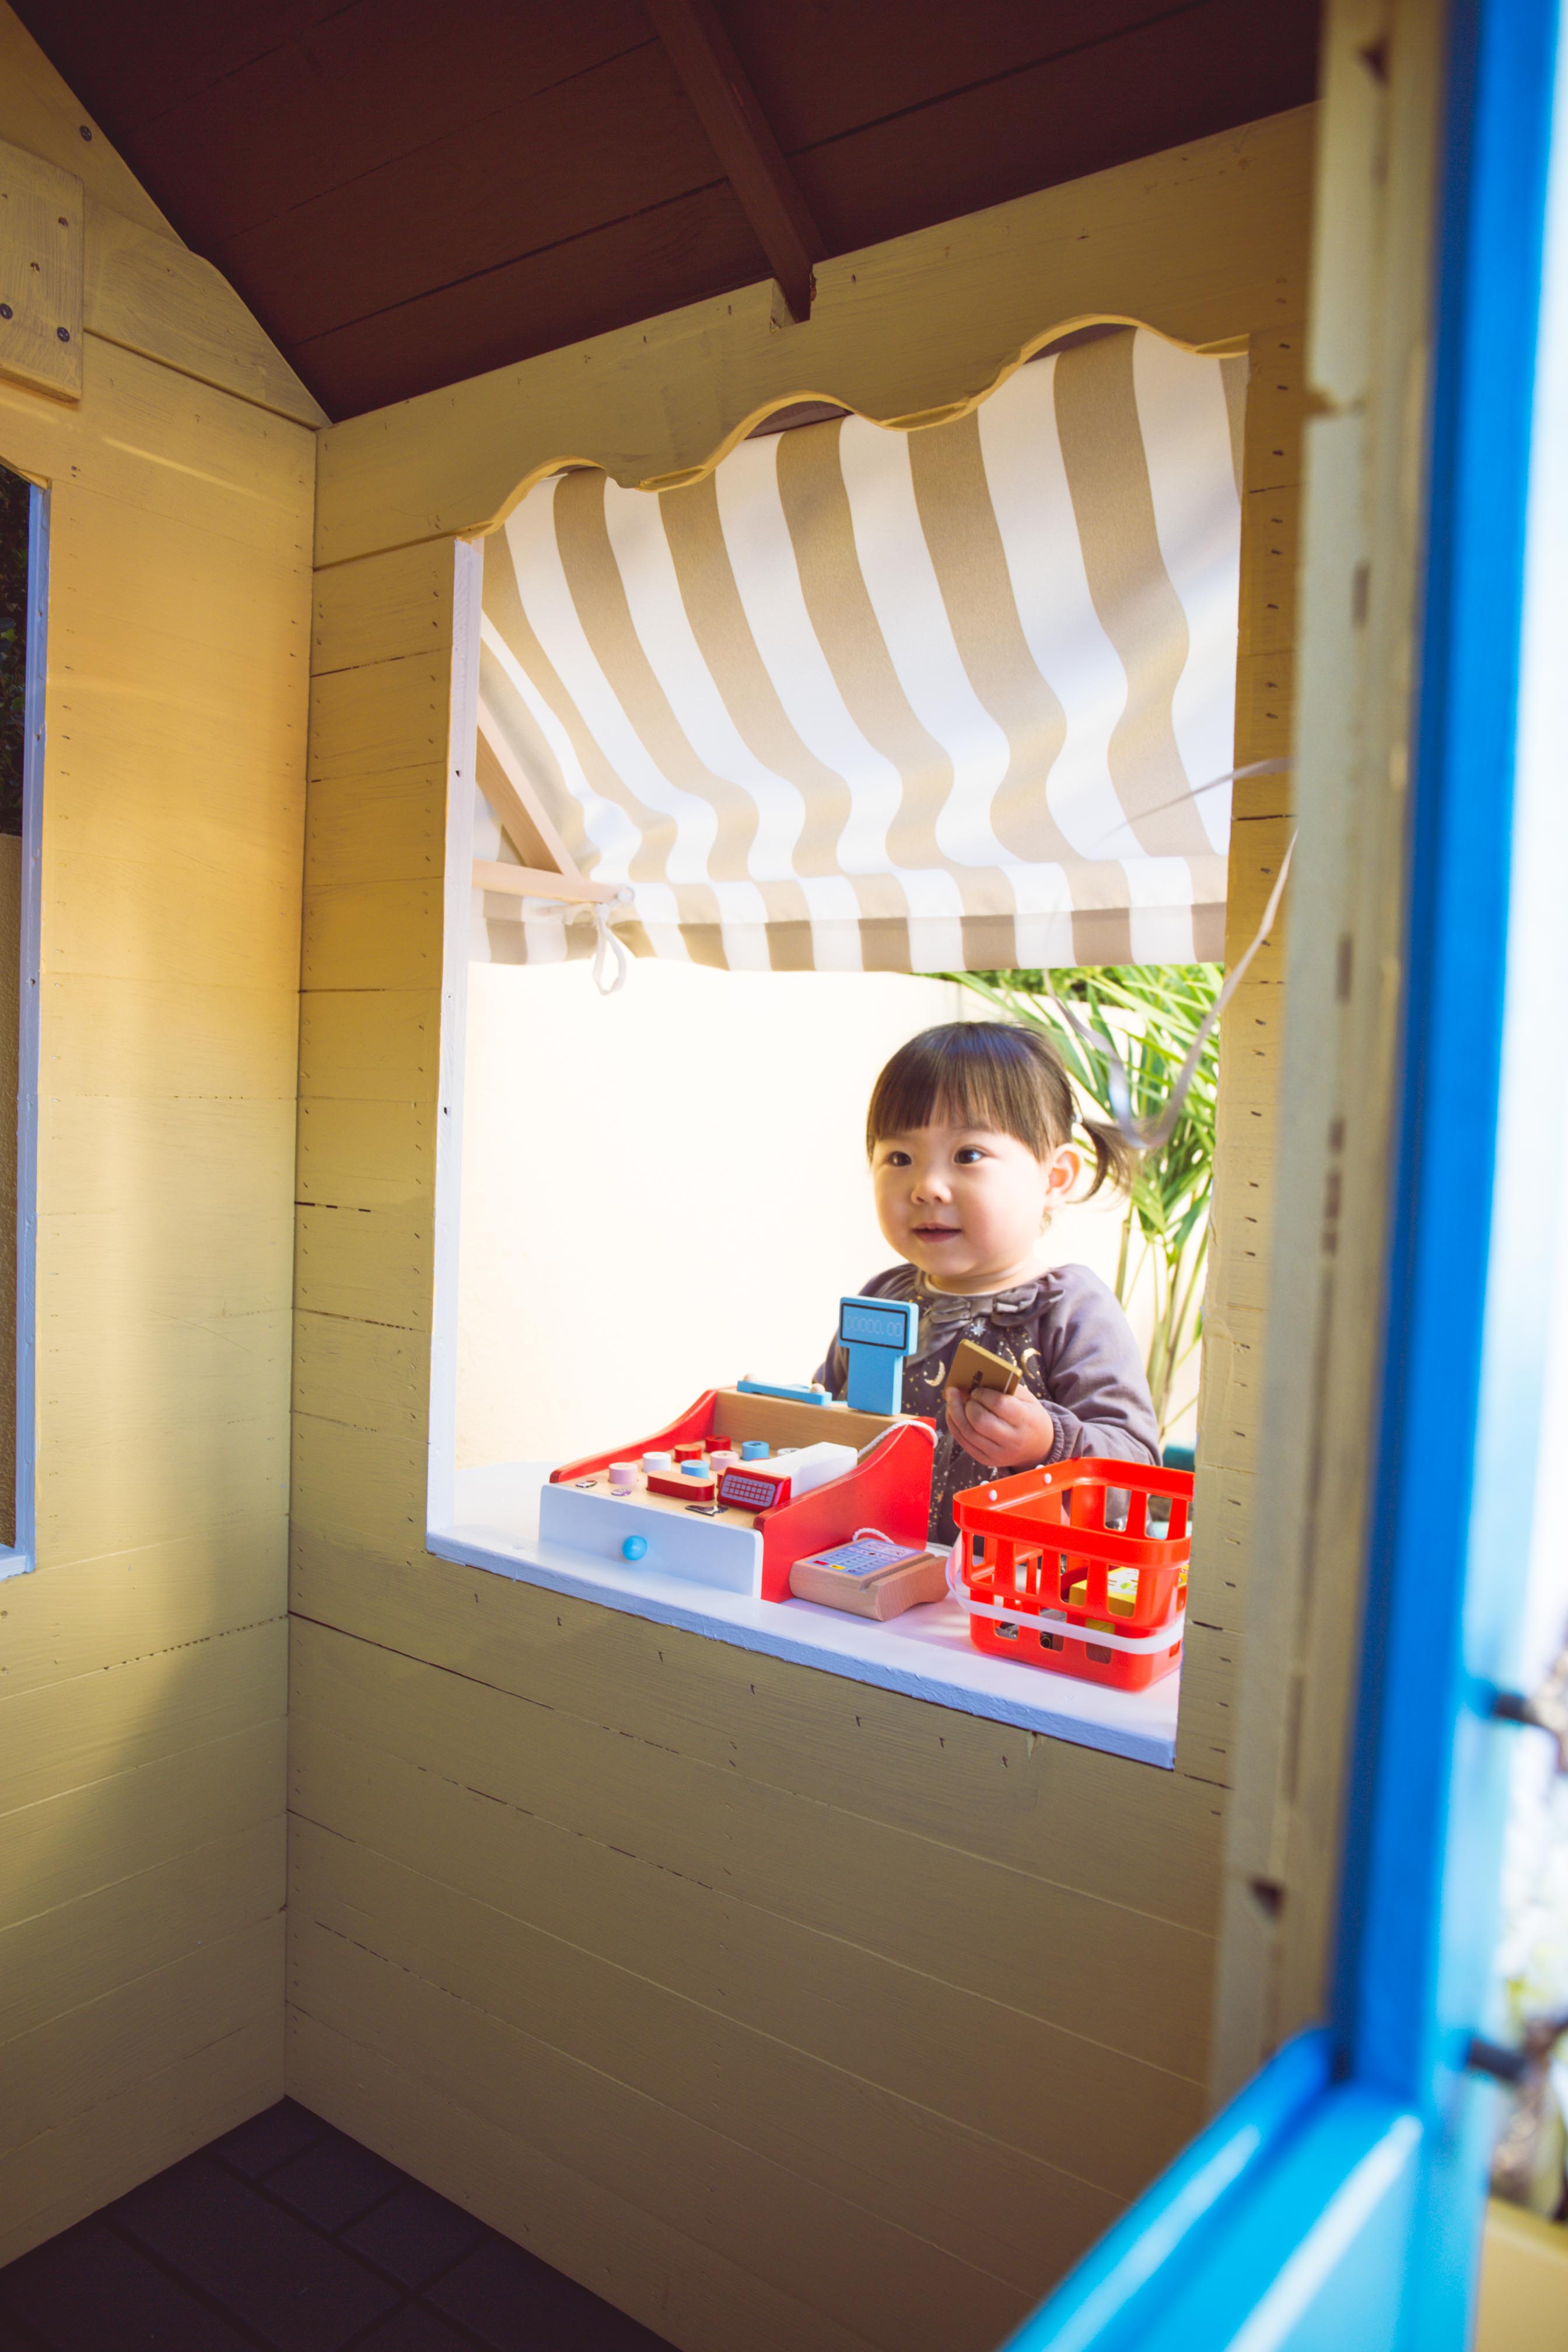
In my childhood, I dreamed of camping beneath the stars — using bed sheets hoisted up between two dining chairs to create a pretend tent and sofa cushions for a makeshift bed, my siblings and I often let our imaginations run wild. I remember suggesting to take this outside to the backyard for an overnight adventure but my parents must’ve talked us out of it. Growing up, we also played a lot of pretend shop during the school holidays, taking turns to be the shopkeeper and customer. The shop always came alive the second my parents left the house for work. We reshuffled furniture around and cardboard boxes turned into market stands and shop fronts; we’d excitedly run amuck, scavenging for props that we could sell to each other. But of course, what would have really made our pretend play even more fun would have been a cubby house. Cubby houses are the stuff that childhood dreams are made of.
I always knew that when I became a mother, I’d finally build that dream cubby house.
Thanks to Pinterest and Instagram, there’s no shortage of inspiration for dreamy cubby houses! My only challenge was to convince Zen that a cubby house wouldn’t takeover our entire courtyard. That was easily proven when I showed him the nifty $199 Kmart cubby house that we could renovate. “It’d make a great project for us to work on together” I exclaimed!
And so our first renovation project begun!

Buying the wooden cubby house from Kmart
I thought the hard part was going to be tracking down the cubby house because it’s no longer available online. According to the website store availability checker, there was no stock at my closest Kmart but after quick call to another store, I was advised that they had three in stock so off we went — Zen, Clara and I , in our little hatchback.
I wish I had taken note of the weight and size of the packaged box 116cm (H) x 112cm (W) x21cm (D) beforehand because when we arrived, it was instantly obvious that there was no way it was going to fit into our car since we had the baby seat installed at the back! The bulky box (weighing around 30+kg) definitely required two people to lift it and there was no chance my little koala was going to let go of me! 😆
So lesson learned is to borrow a van and get help with the lifting! (A big thank you to Zen’s brother who came to the rescue later that night!)
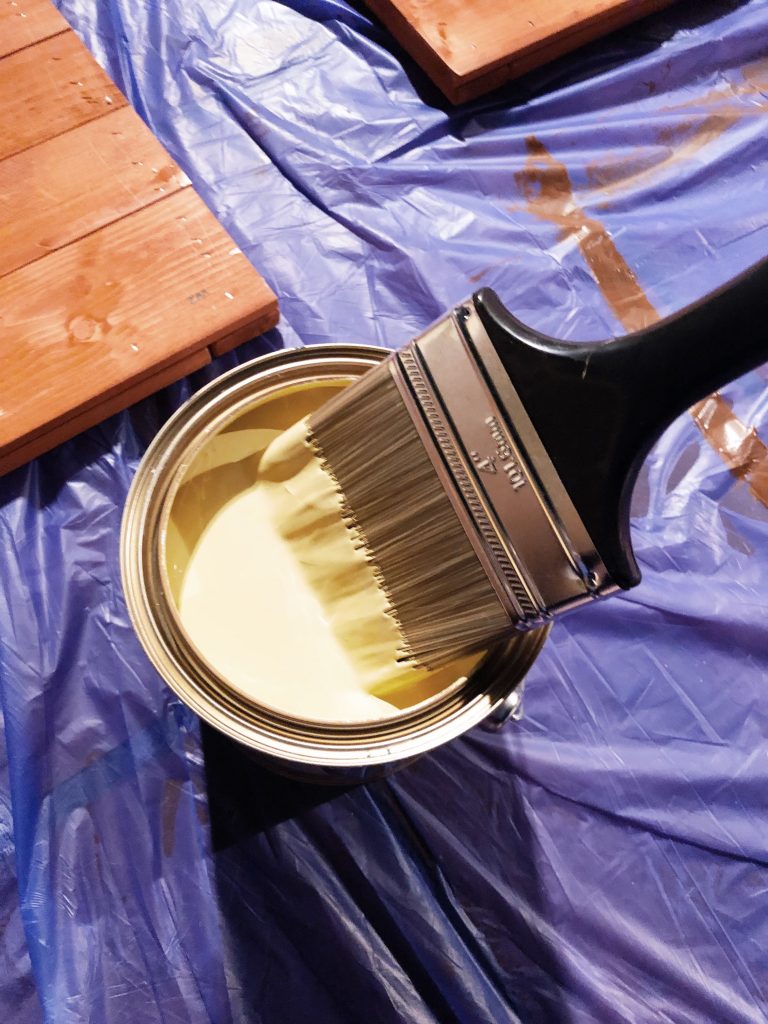
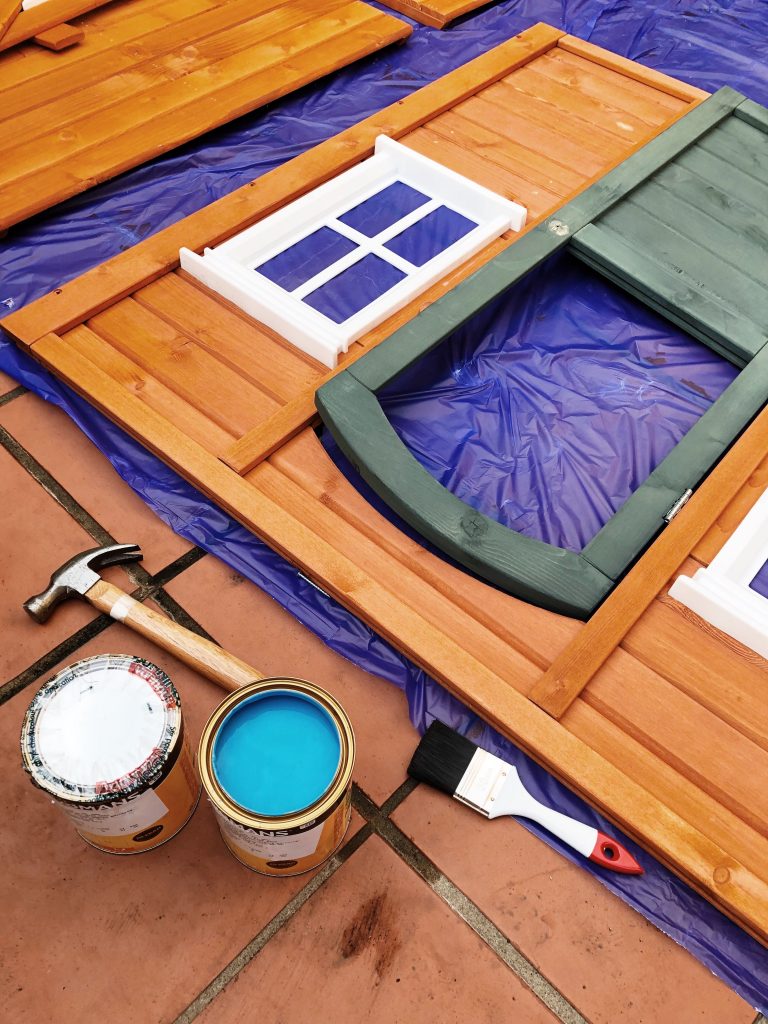
Choosing a colour palette
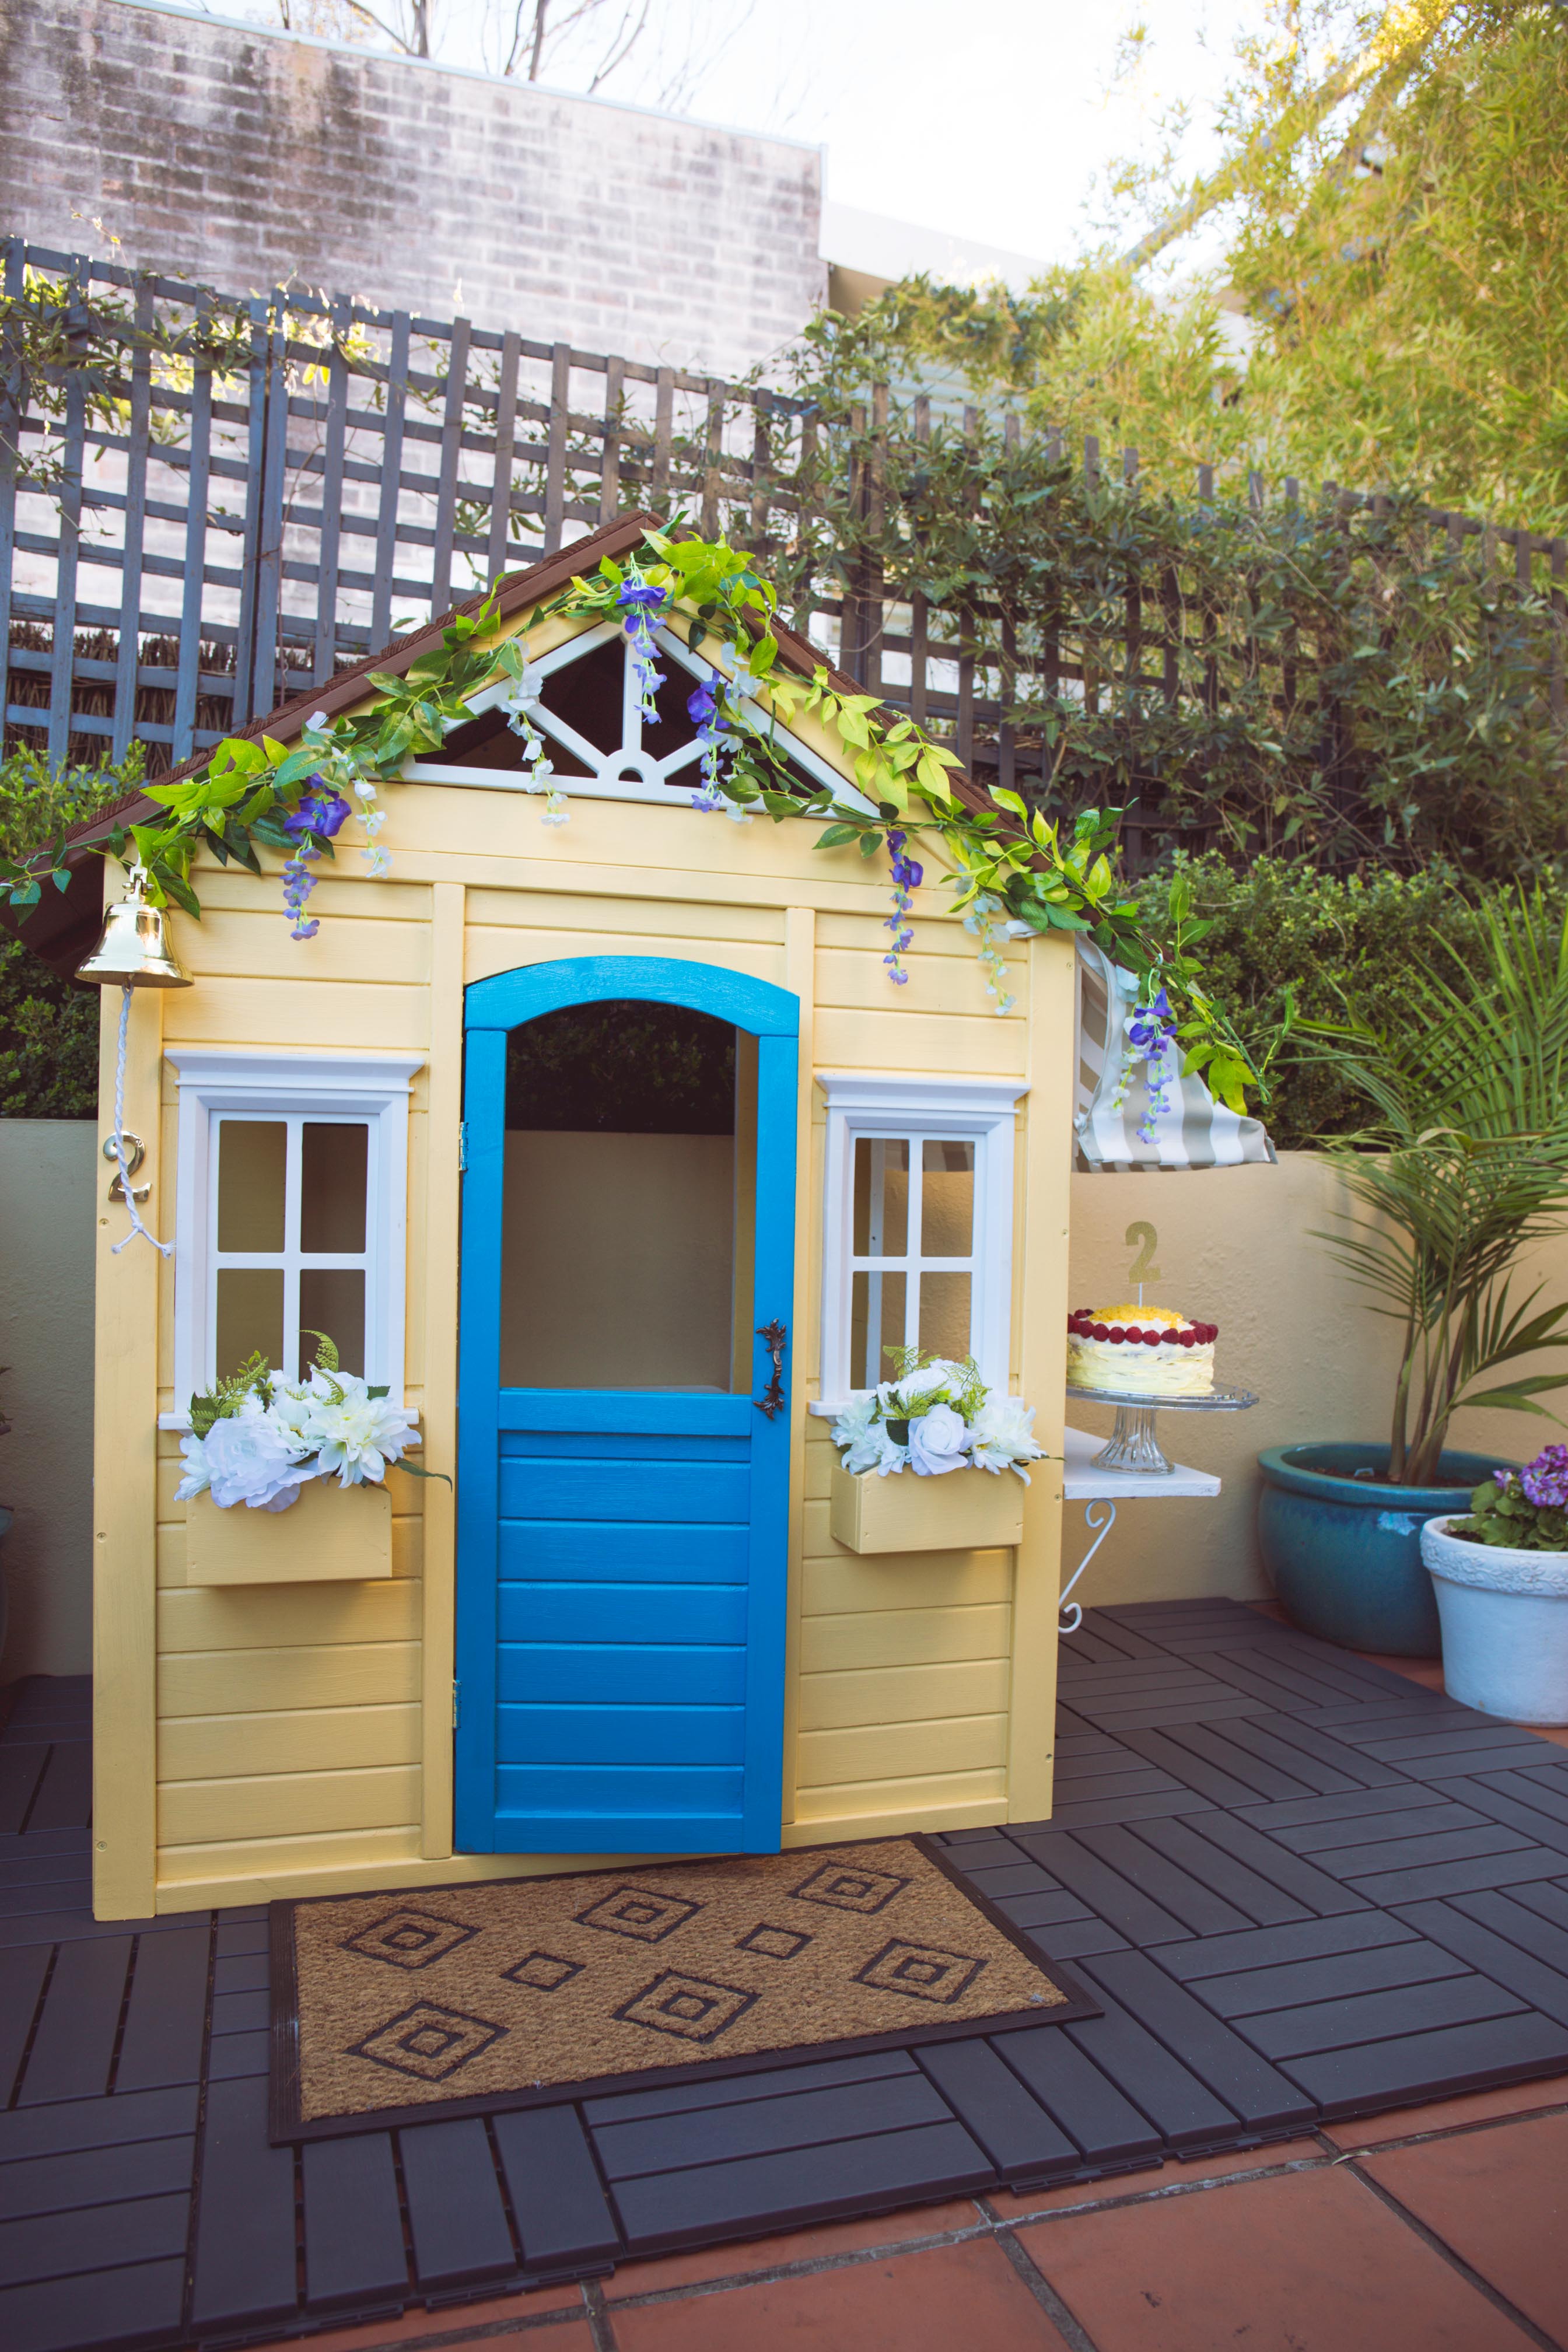
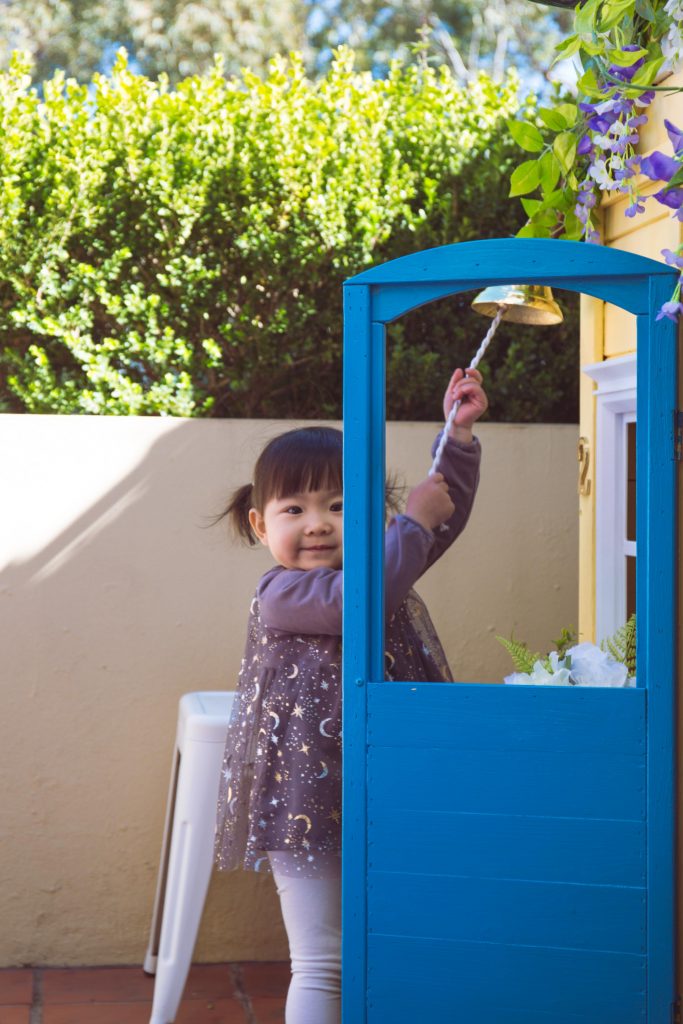
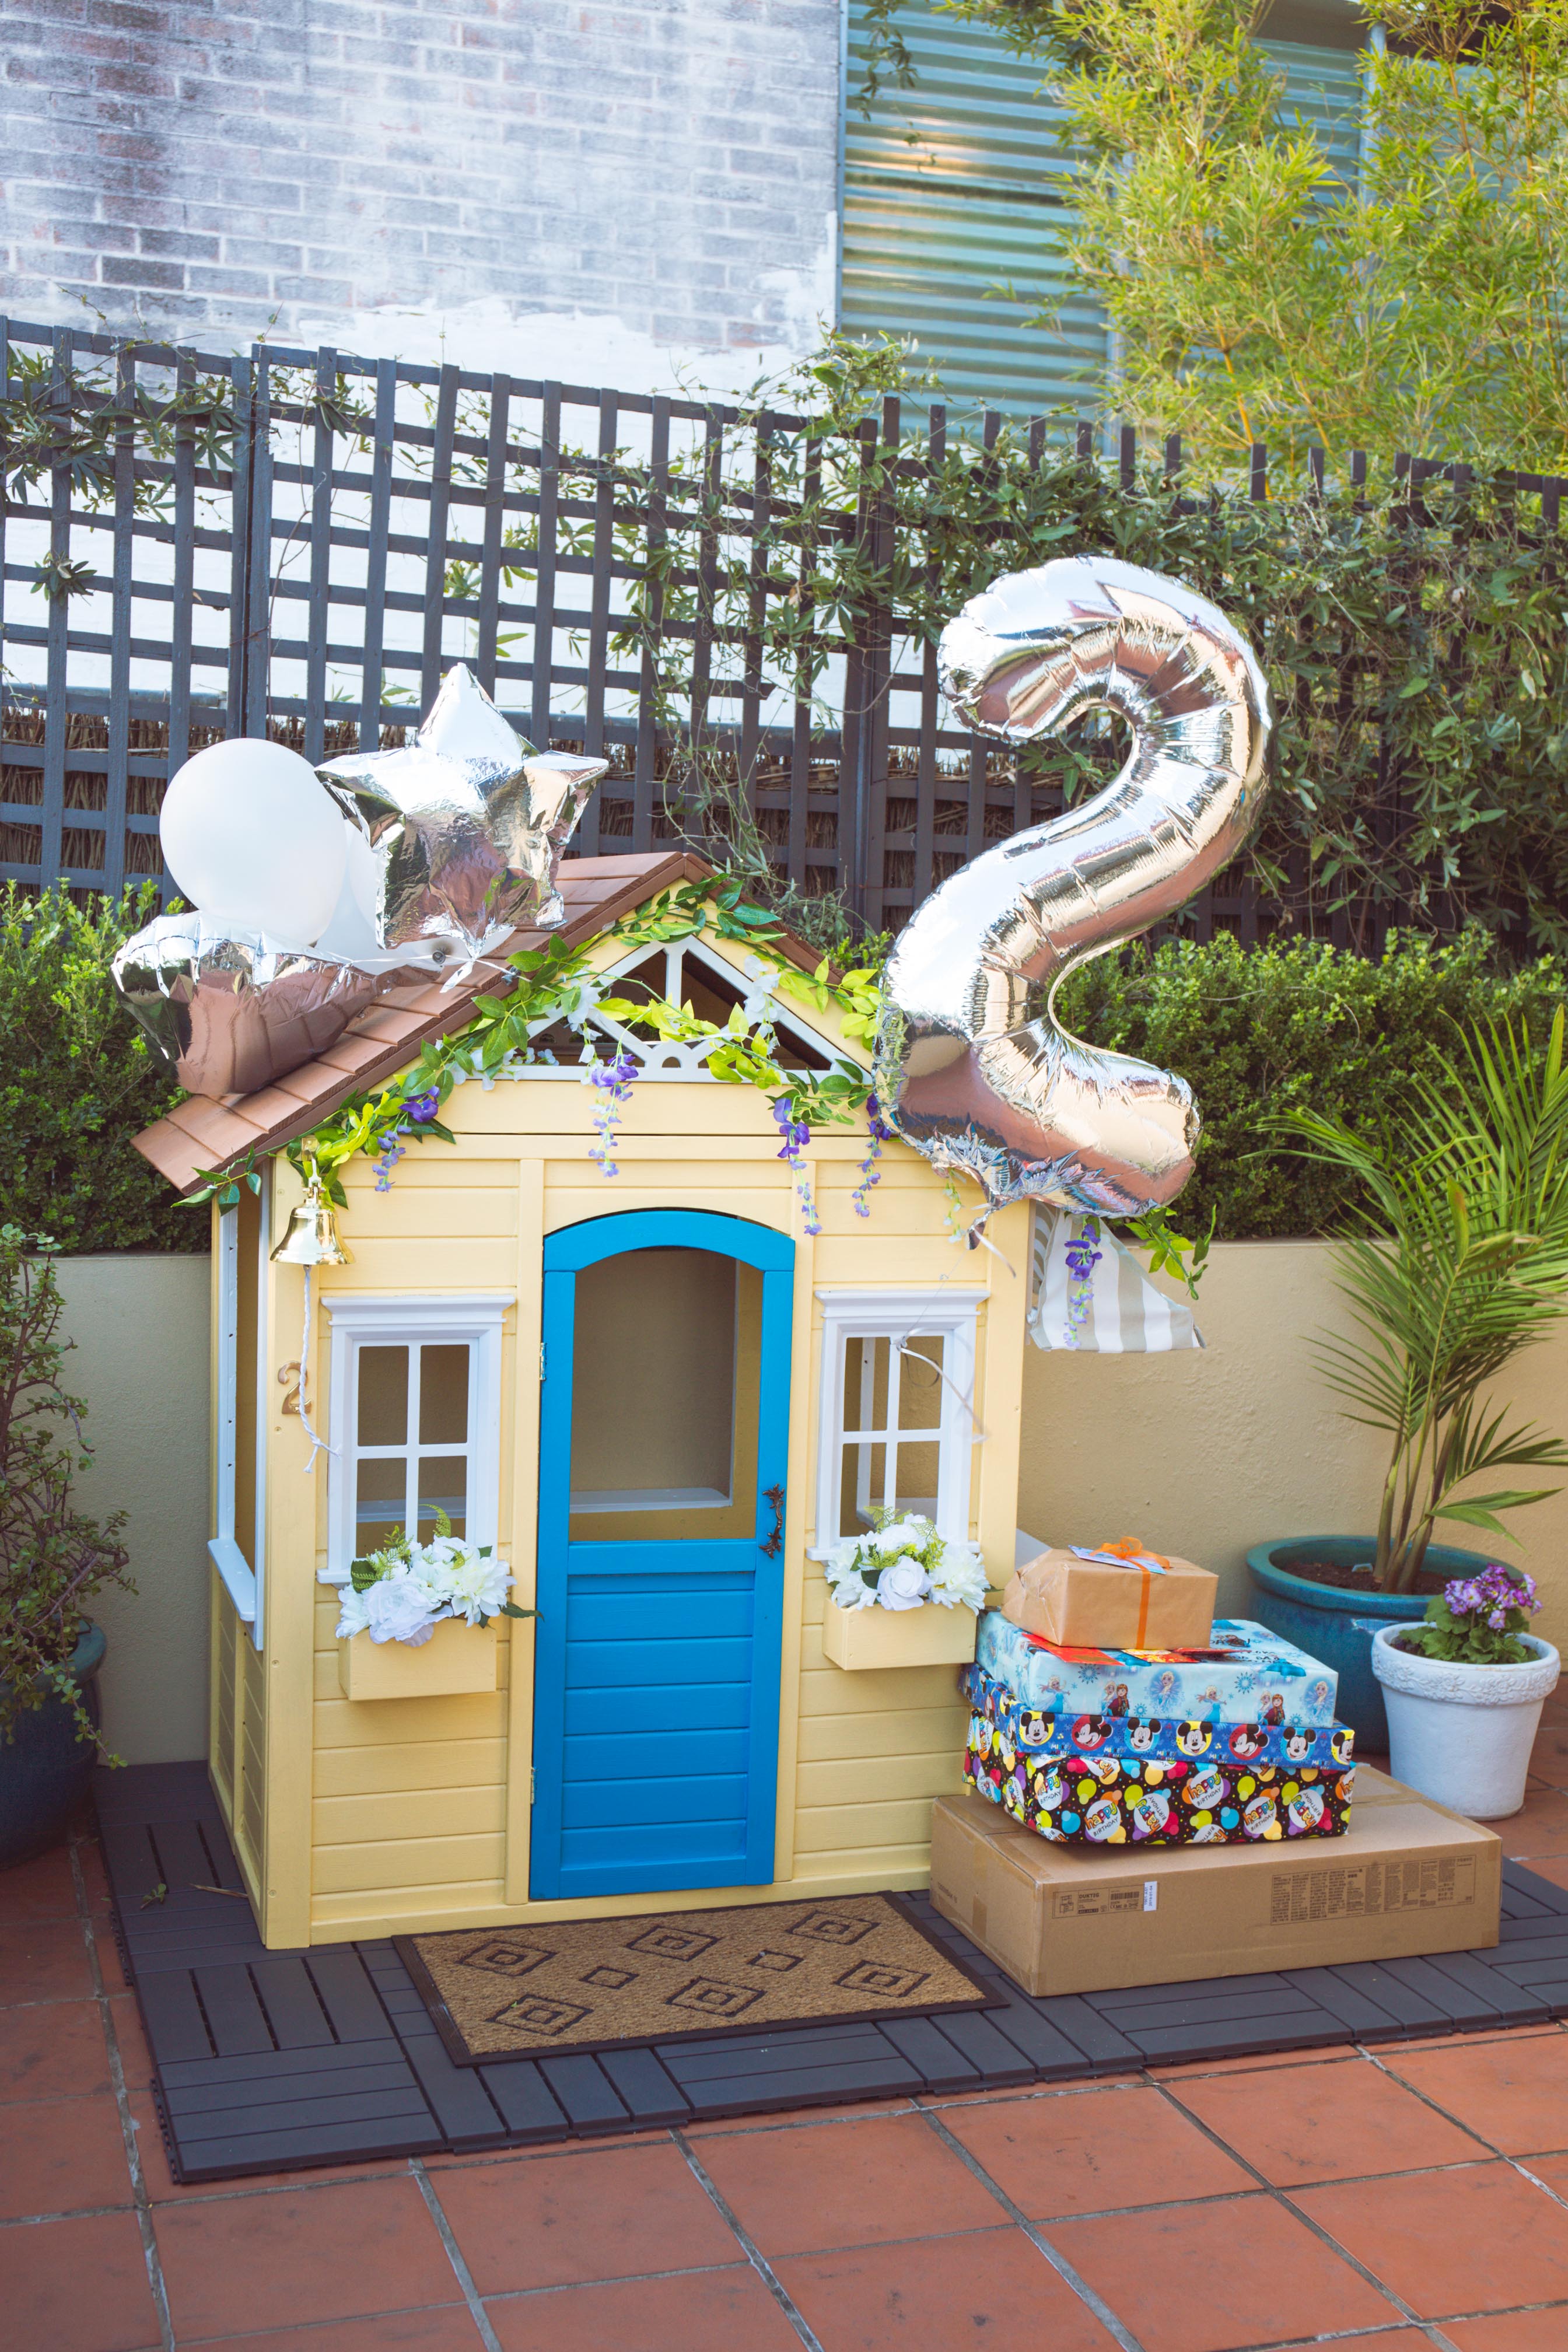
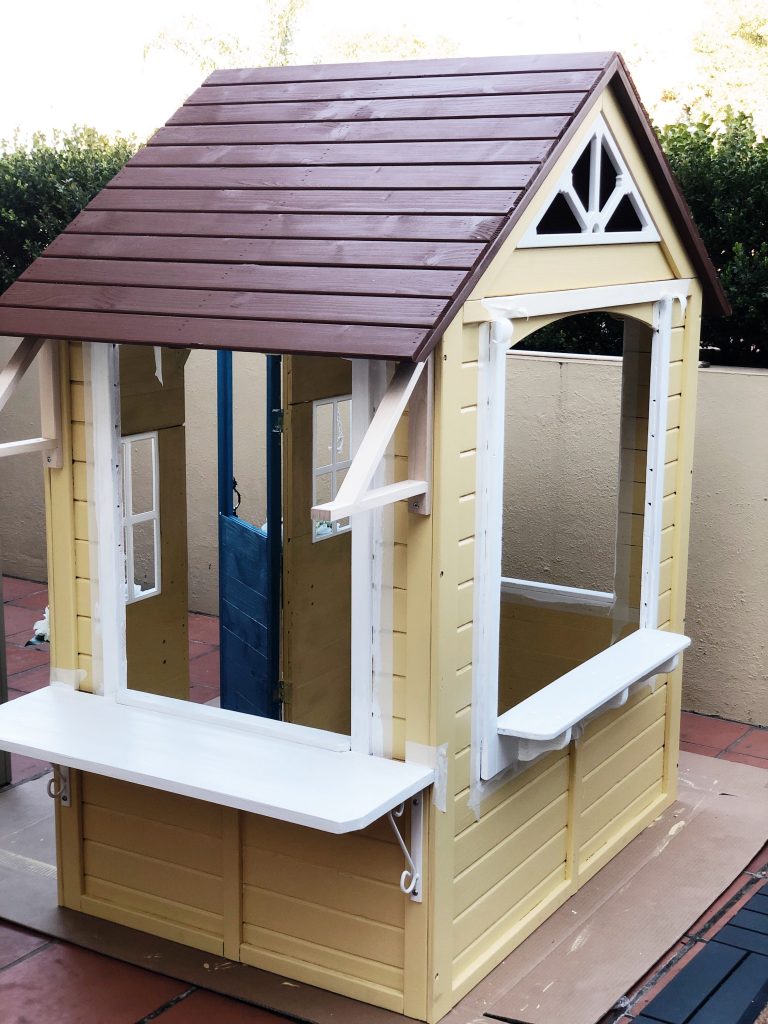
I decided on a Tuscan-style colour palette to match our house, but I wanted the pop of a blue door to create a laid back coastal Mediterranean Sea vibe.
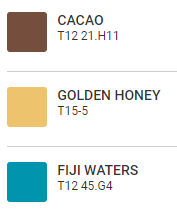
To make sure the colours would complement one another, I found a similar colour palette from a Taubmans colour style guide available at Bunnings. I wanted a turqoise tone to the door so I chose Fiji Waters instead of Blue Lagoon and I wanted the yellow to be more pastel so I opted for Golden Honey. We chose Cacao for the roof to give it a classic look and just plain white for the window trim.

How much paint?
Make sure to buy weather-resistant exterior paint if your cubby house is going to be outdoors. We went for the cheapest exterior paints which ended up being:
- British Paints 4 Seasons 2L low sheen ($53) for the walls
- Taubman’s Sunproof Exterior 1L gloss ($32.30) for the door
- Taubman’s Sunproof Exterior 1L low sheen ($32.30) for the roof
- Taubman’s Sunproof Exterior 1L low sheen white ($31.20) for the window trim
Two litres of paint will give you two coats on the exterior walls and a single coat on the interior. I would’ve liked to do a second coat if we had enough paint so maybe go for the 4L if you’d like a better finish on the interior.
We still have around half a tin each of the 1L paints after doing two to three coats of paint on the door, roof and trims.
Keep in mind that we’re total newbs at renovating so we had to also buy basic things. Other costs included:
- Uni Pro 25-75mm 3 Piece Paint Brush Set ($4.10)
- Paint Partner 100mm Paint Brush ($6.67)
- Monarch 2.6×3.6m Blue Plastic Drop Sheet ($6.19) – In hindsight, I wish we had invested in a reusable canvas drop sheet instead
- Bear 36mm x 50m General Purpose Masking Tape ($4.89) – This is a cheap one; the adhesive removes clean within 24 hours. The more expensive ones allow you to leave it on for 14 days which we didn’t need.
Note: I didn’t paint the plastic windows at the front of the house since it was already white.
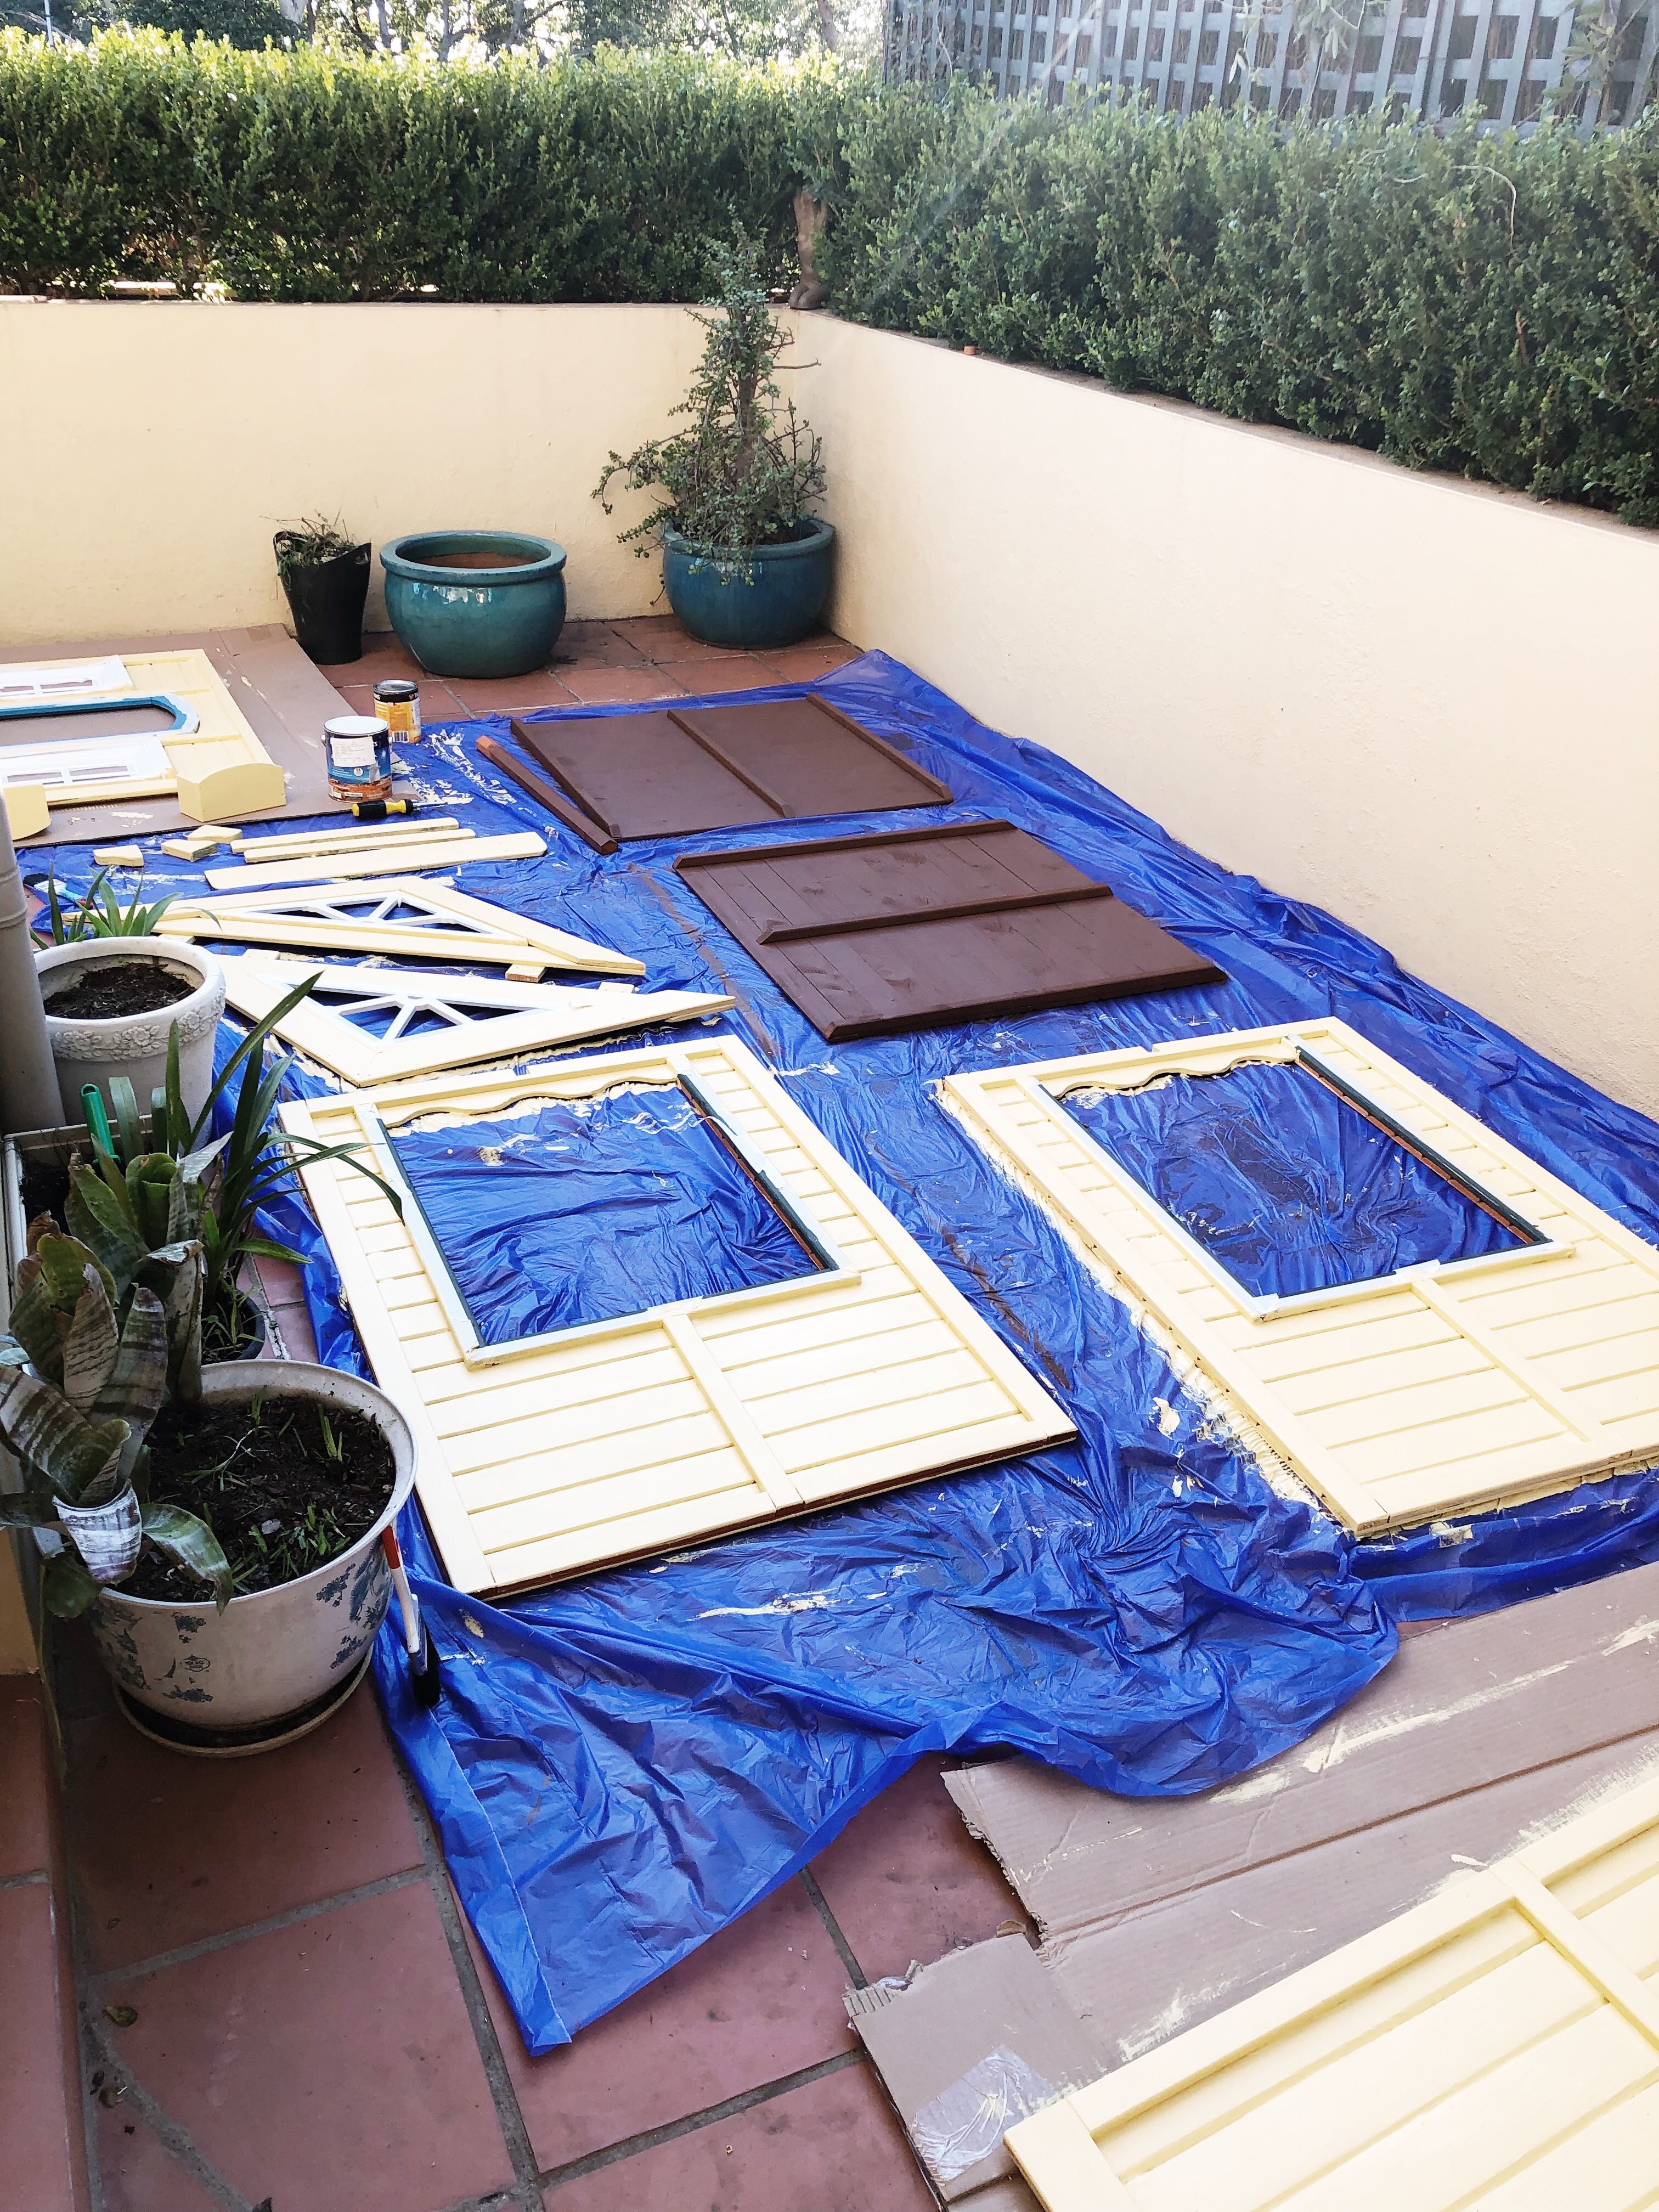
Is there anything I’d do differently? I’d probably invest in a paint spray gun because painting by hand took a very long time and it was quite difficult to get a nice smooth finish. I also underestimated the entire painting process as I didn’t take into account that paint would need at least two hours to dry properly before you could apply a second coat. Given that we worked on this after Clara went to bed every night for a week, we were only able to do a single coat of paint on one side at each given time. I also realised I painted a lot of unnecessary areas because once assembled, the parts overlapped! But I don’t actually have any advice to give because I think painting the parts separately definitely made it easier to start with!?
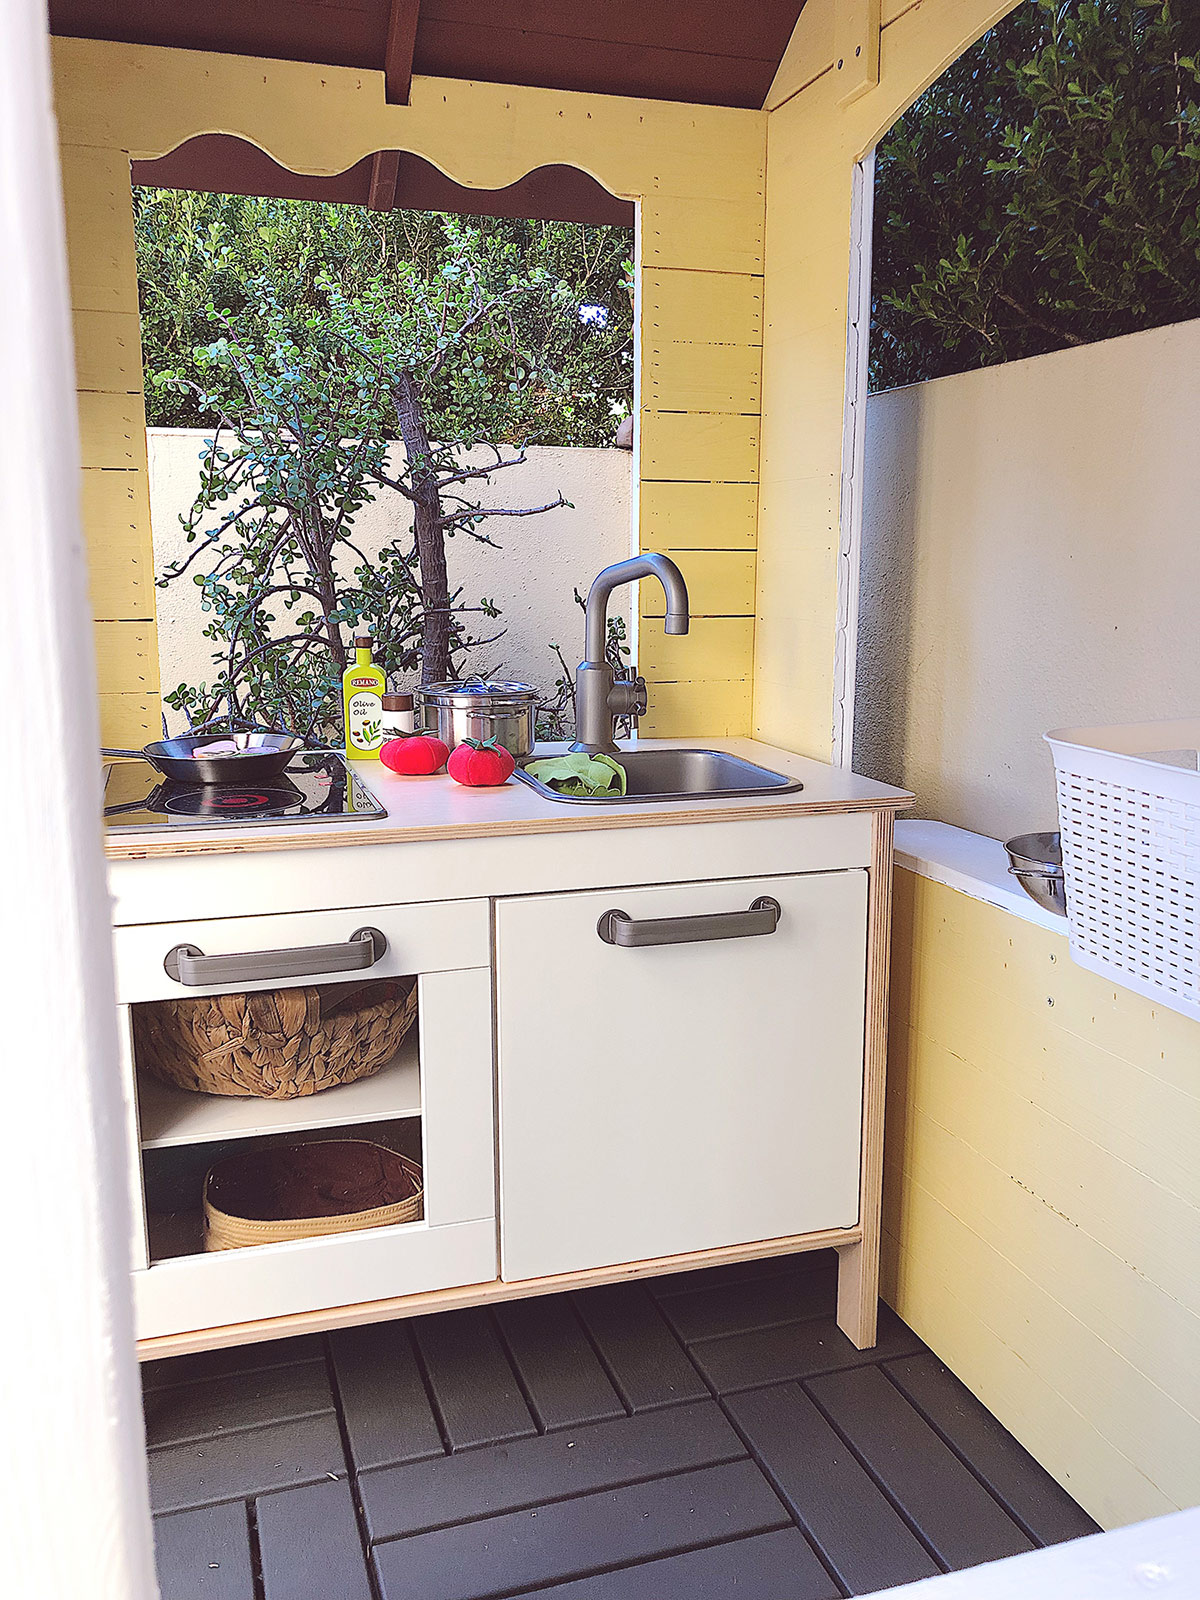
Flooring
To keep the cubby house off wet ground, we installed four packs of the IKEA Runnen floor decking in dark grey ($24.99 each / 9 tiles per pack). It was surprisingly easy to click together and literally took just seconds to assemble! Although the decking is plastic, it feels really durable and visually, it just completes the space. The instructions recommend to saw off the connector edges once you’ve assembled the desired space, but we decided to leave these on in case we ever wanted to expand the deck.
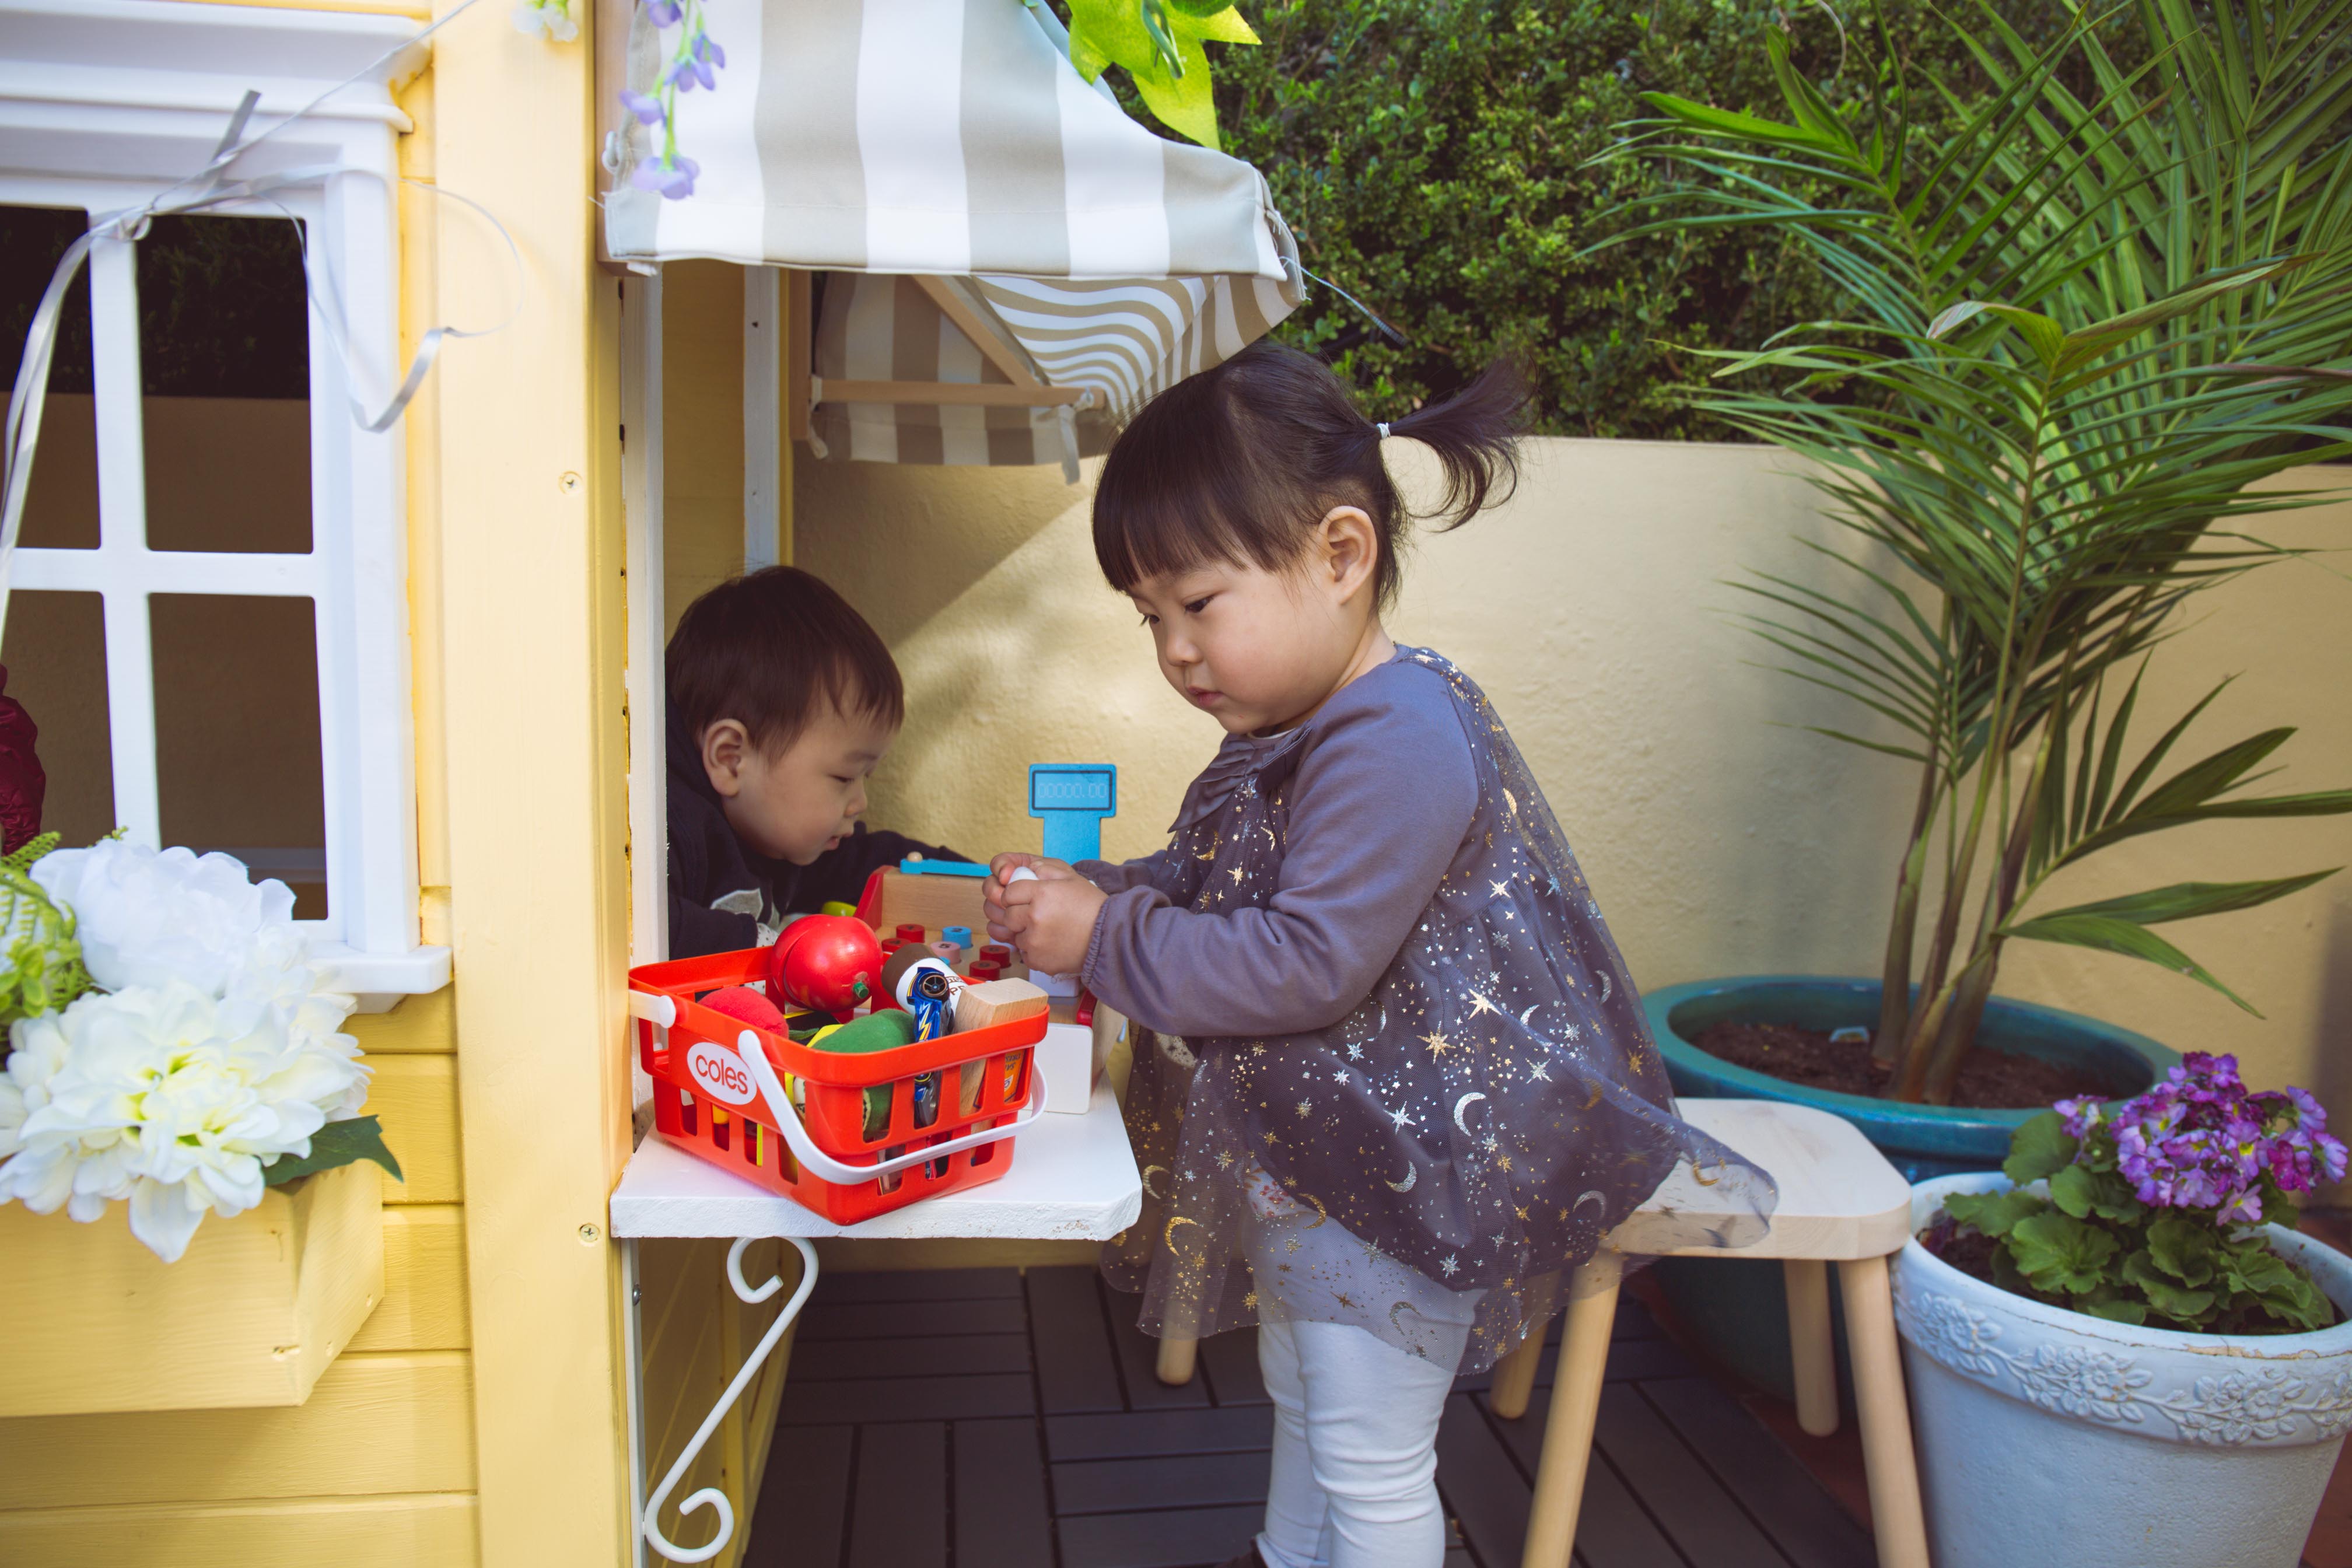
Bar Leaner
To extend the play space, we decided to set-up a bar leaner using two Carinya 150 x 100 x 20mm scroll brackets ($4.85 each) and a piece of pine wood. I randomly picked the Claymark 235 x 19mm x 1.2m Premium Grade Dressed Pine Sheet ($19.20) and took it to the trade desk to have it cut to length for free, but the shame of it was that I gave them the wrong dimensions! 🤦♀️
So I ended up buying the Ox Trade Hand Saw ($9.95) and a sanding block ($3.50) from my local hardware shop so we could cut the pine to its correct size. I also asked the hubby to trim the corner down as a safety precaution since our toddler is prone to walking into corners, walls and doors! I’ve seen some bar leaners cut to size to fit snug against the window sill but the carpentry felt a bit out of our depth so we took the easy route and slotted it beneath the sill. There’s a tiny gap on the sides but I really don’t mind it.
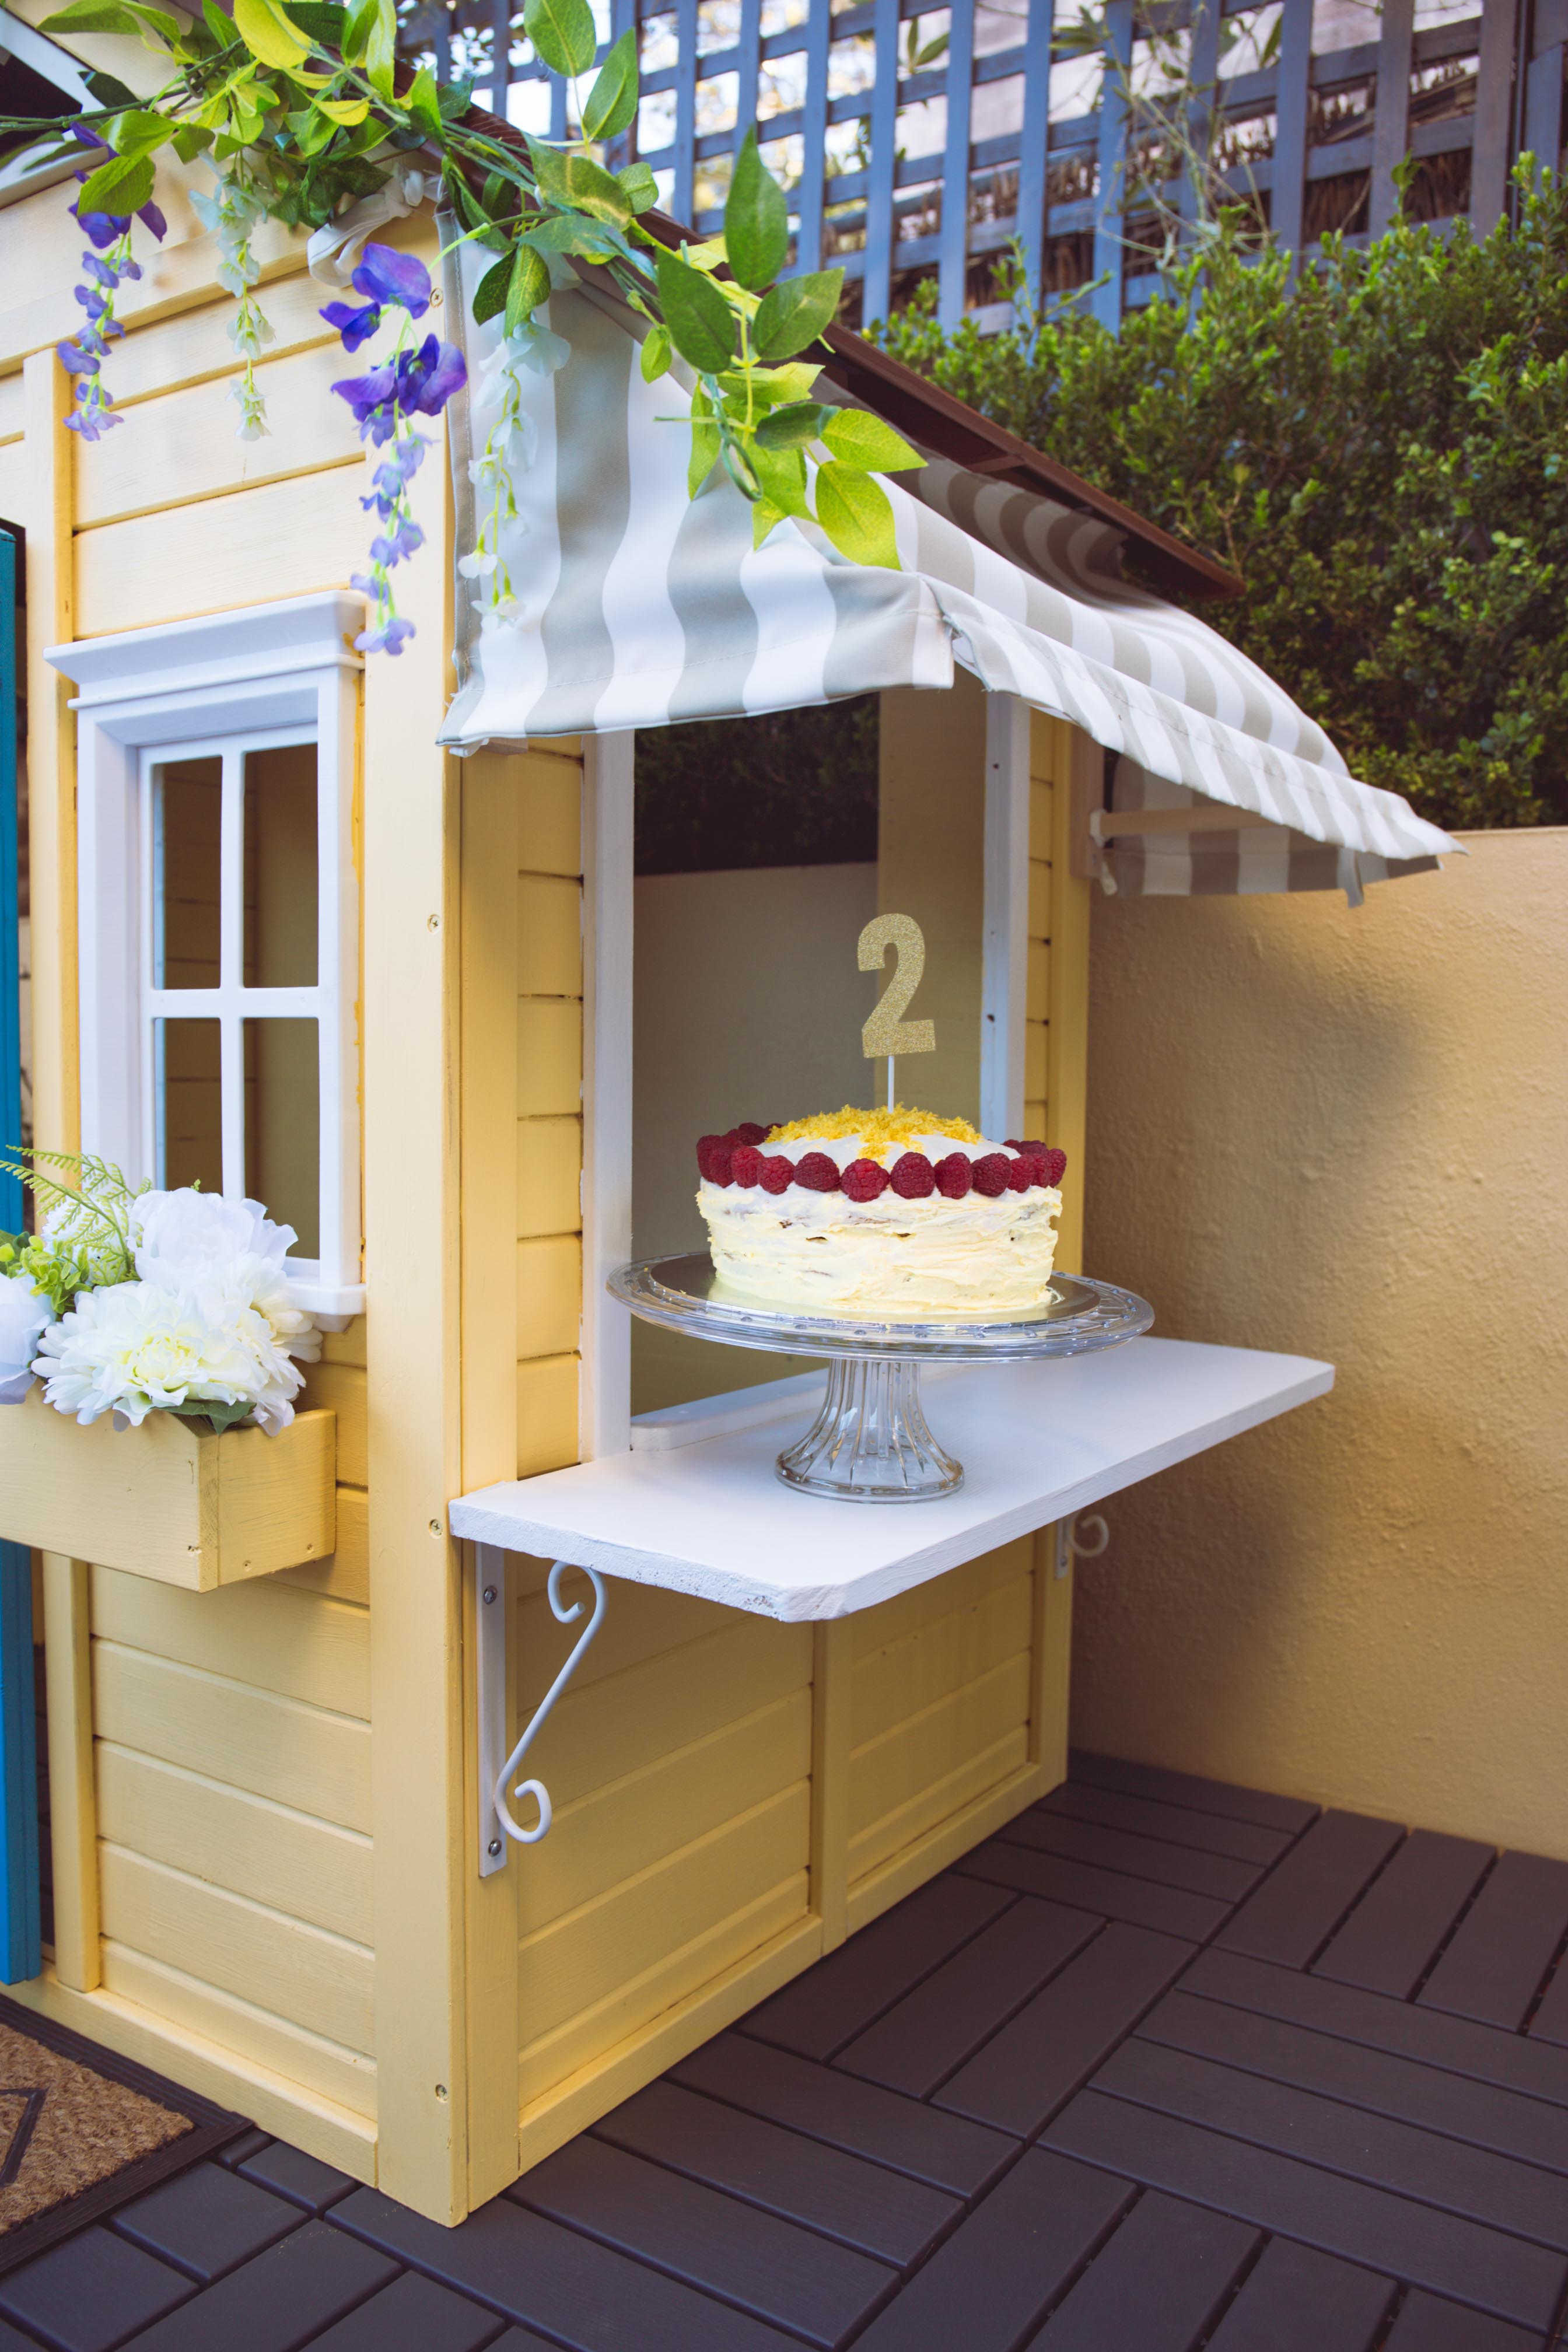
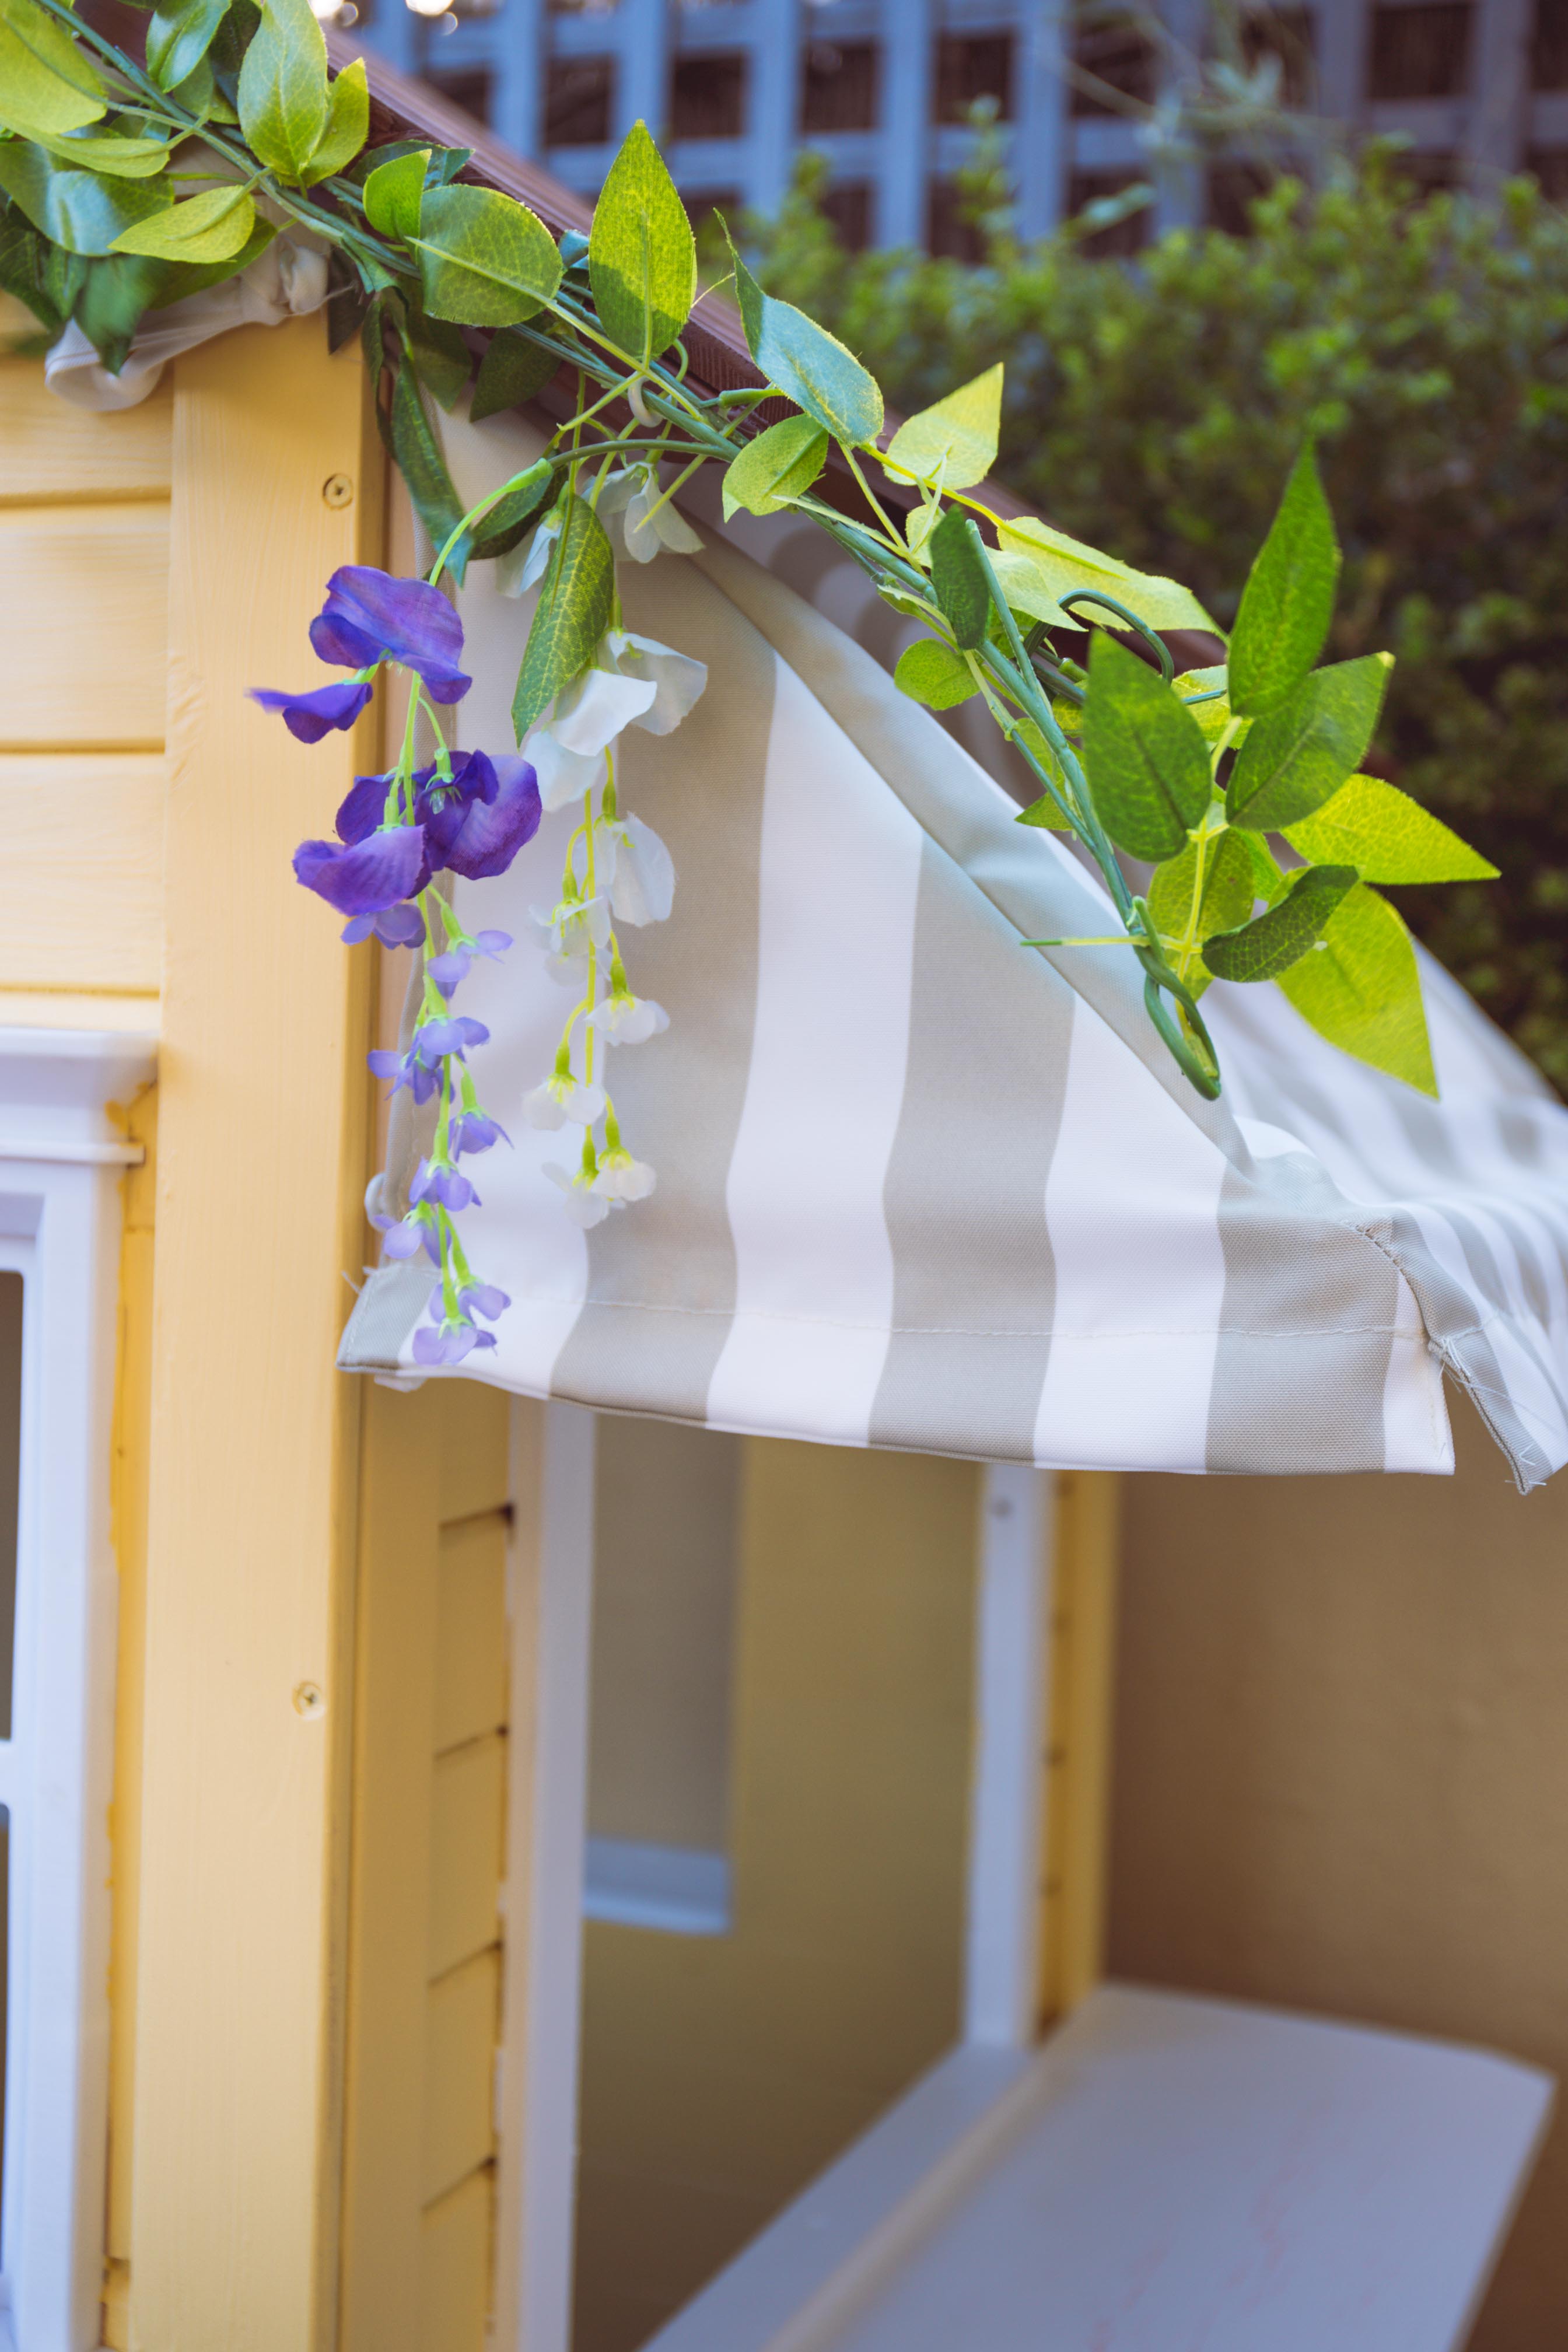
Awning
The awning consists of two IKEA Ekby Valter wall brackets ($5 each) installed upside down. I scored the awning fabric almost half price from Spotlight! I bought 1 metre of the Coastal Stripe Weather Resistant Canvas Fabric ($13/m on sale, originally $25/m) and winged it with the pattern making! Here’s what it looked like before I sewed it together:
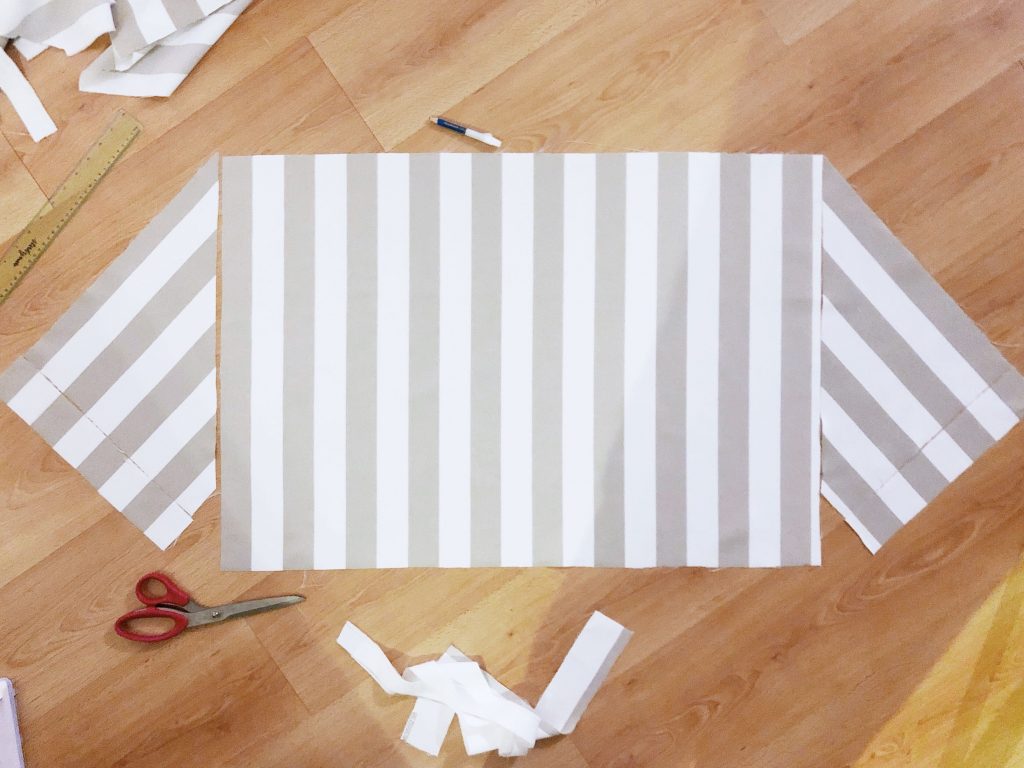
I wanted the awning cover to be removable for washing so rather than permanently attach it, I sewed on six straps at each corner. I used 15mm white PVC Cup Hooks ($4.80 each, 25 per pack) to secure them into place.
Kitchen
I believe a kitchen is the heart of every home so the cubby definitely needed one too. We coordinated with Zen’s sister who offered to generously gift Clara the IKEA Duktig Play Kitchen ($129) for her birthday. The fit was unbelievably perfect! We decided not to attach the shelving and microwave to keep the cubby airy and spacious. As a matter of fact, we don’t have a microwave at home so it didn’t make sense to have one in the cubby either.
Other details
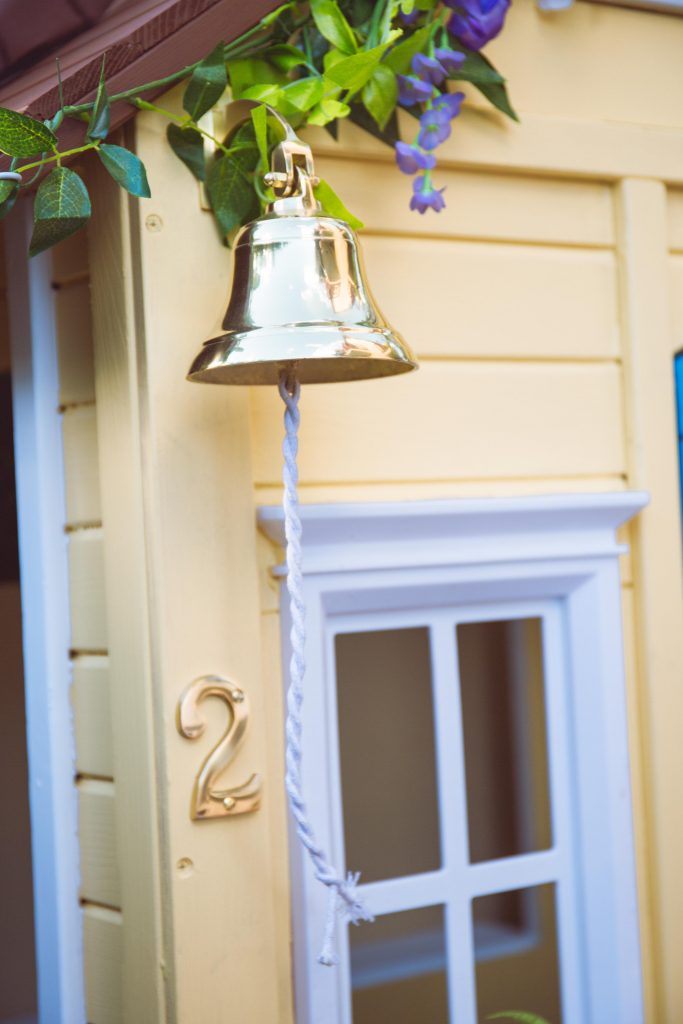
The bell is a 112mm Brass Ship Bell ($29.12) from Bunnings. I was initially concerned Clara would annoy our neighbours by ringing the bell too often but she’s been really good with it! I won’t need to somehow mute the bell after all!
The floor mat is a 45x75mm coir rubber outdoor mat ($12.38), also from Bunnings.
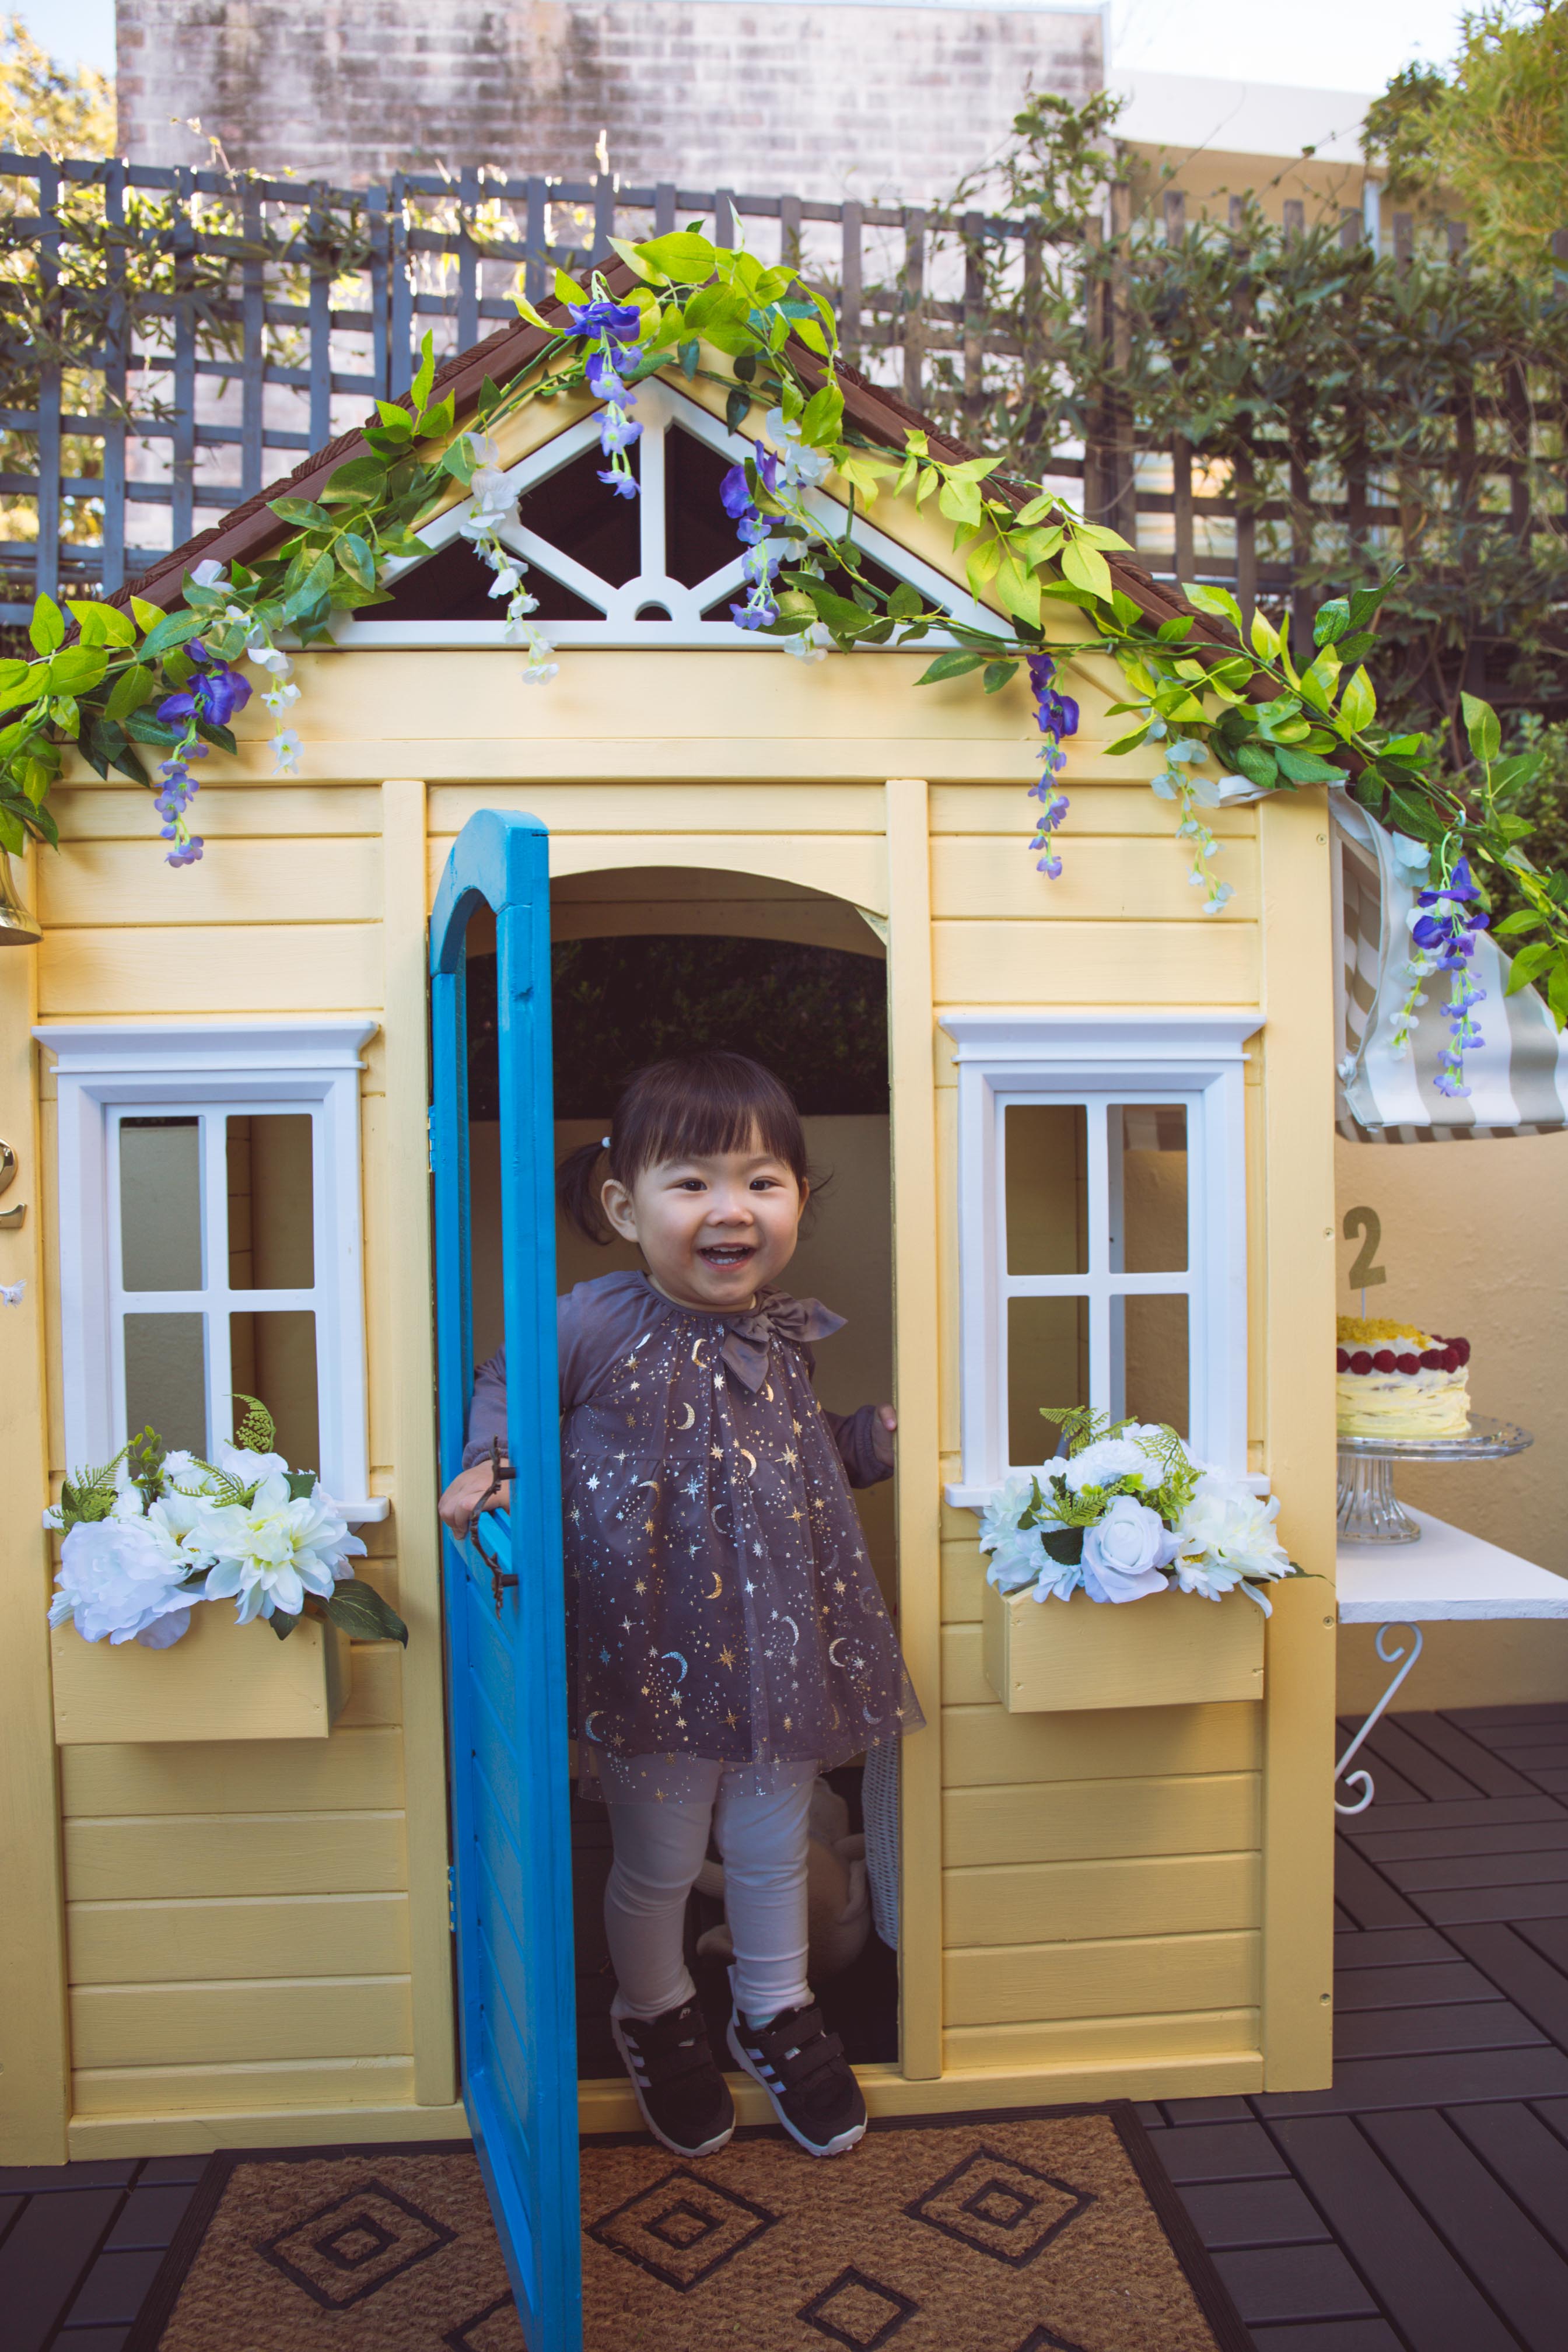
We decided on the number two as a door number to symbolise Clara’s second birthday! The screws for the Sandleford 75mm Solid Brass Number ($7.82) were slightly long so we had to strategically place it where the wood was thicker.
We replaced the wooden door knob with a Prestige 64mm Antique Brass Metal Handle ($5.24) just to make the cubby a little bit more EXTRA! 😉
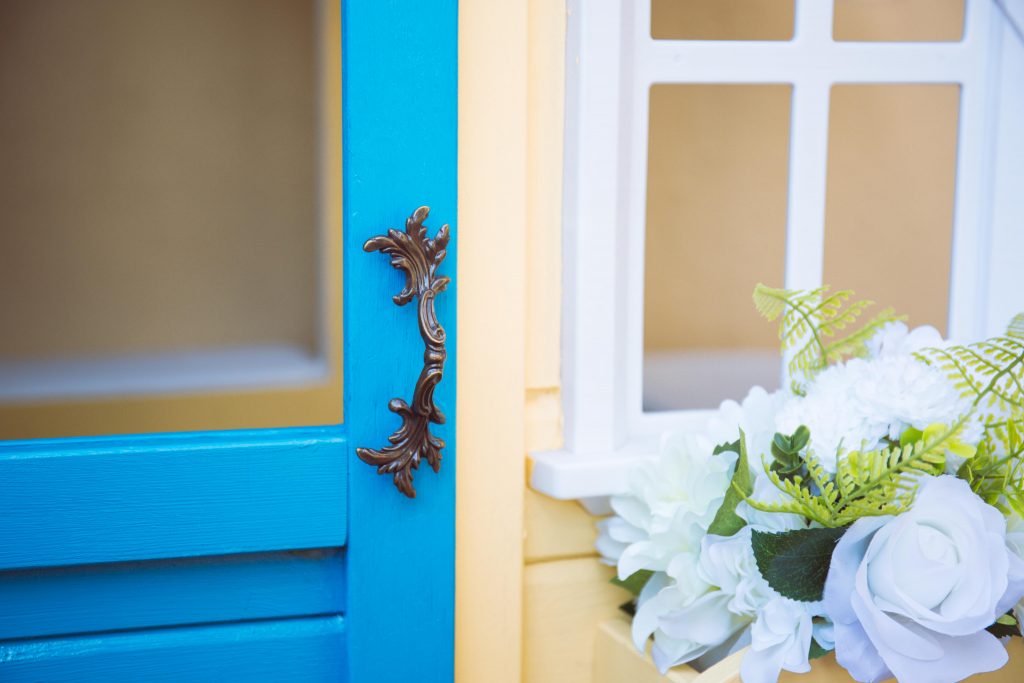
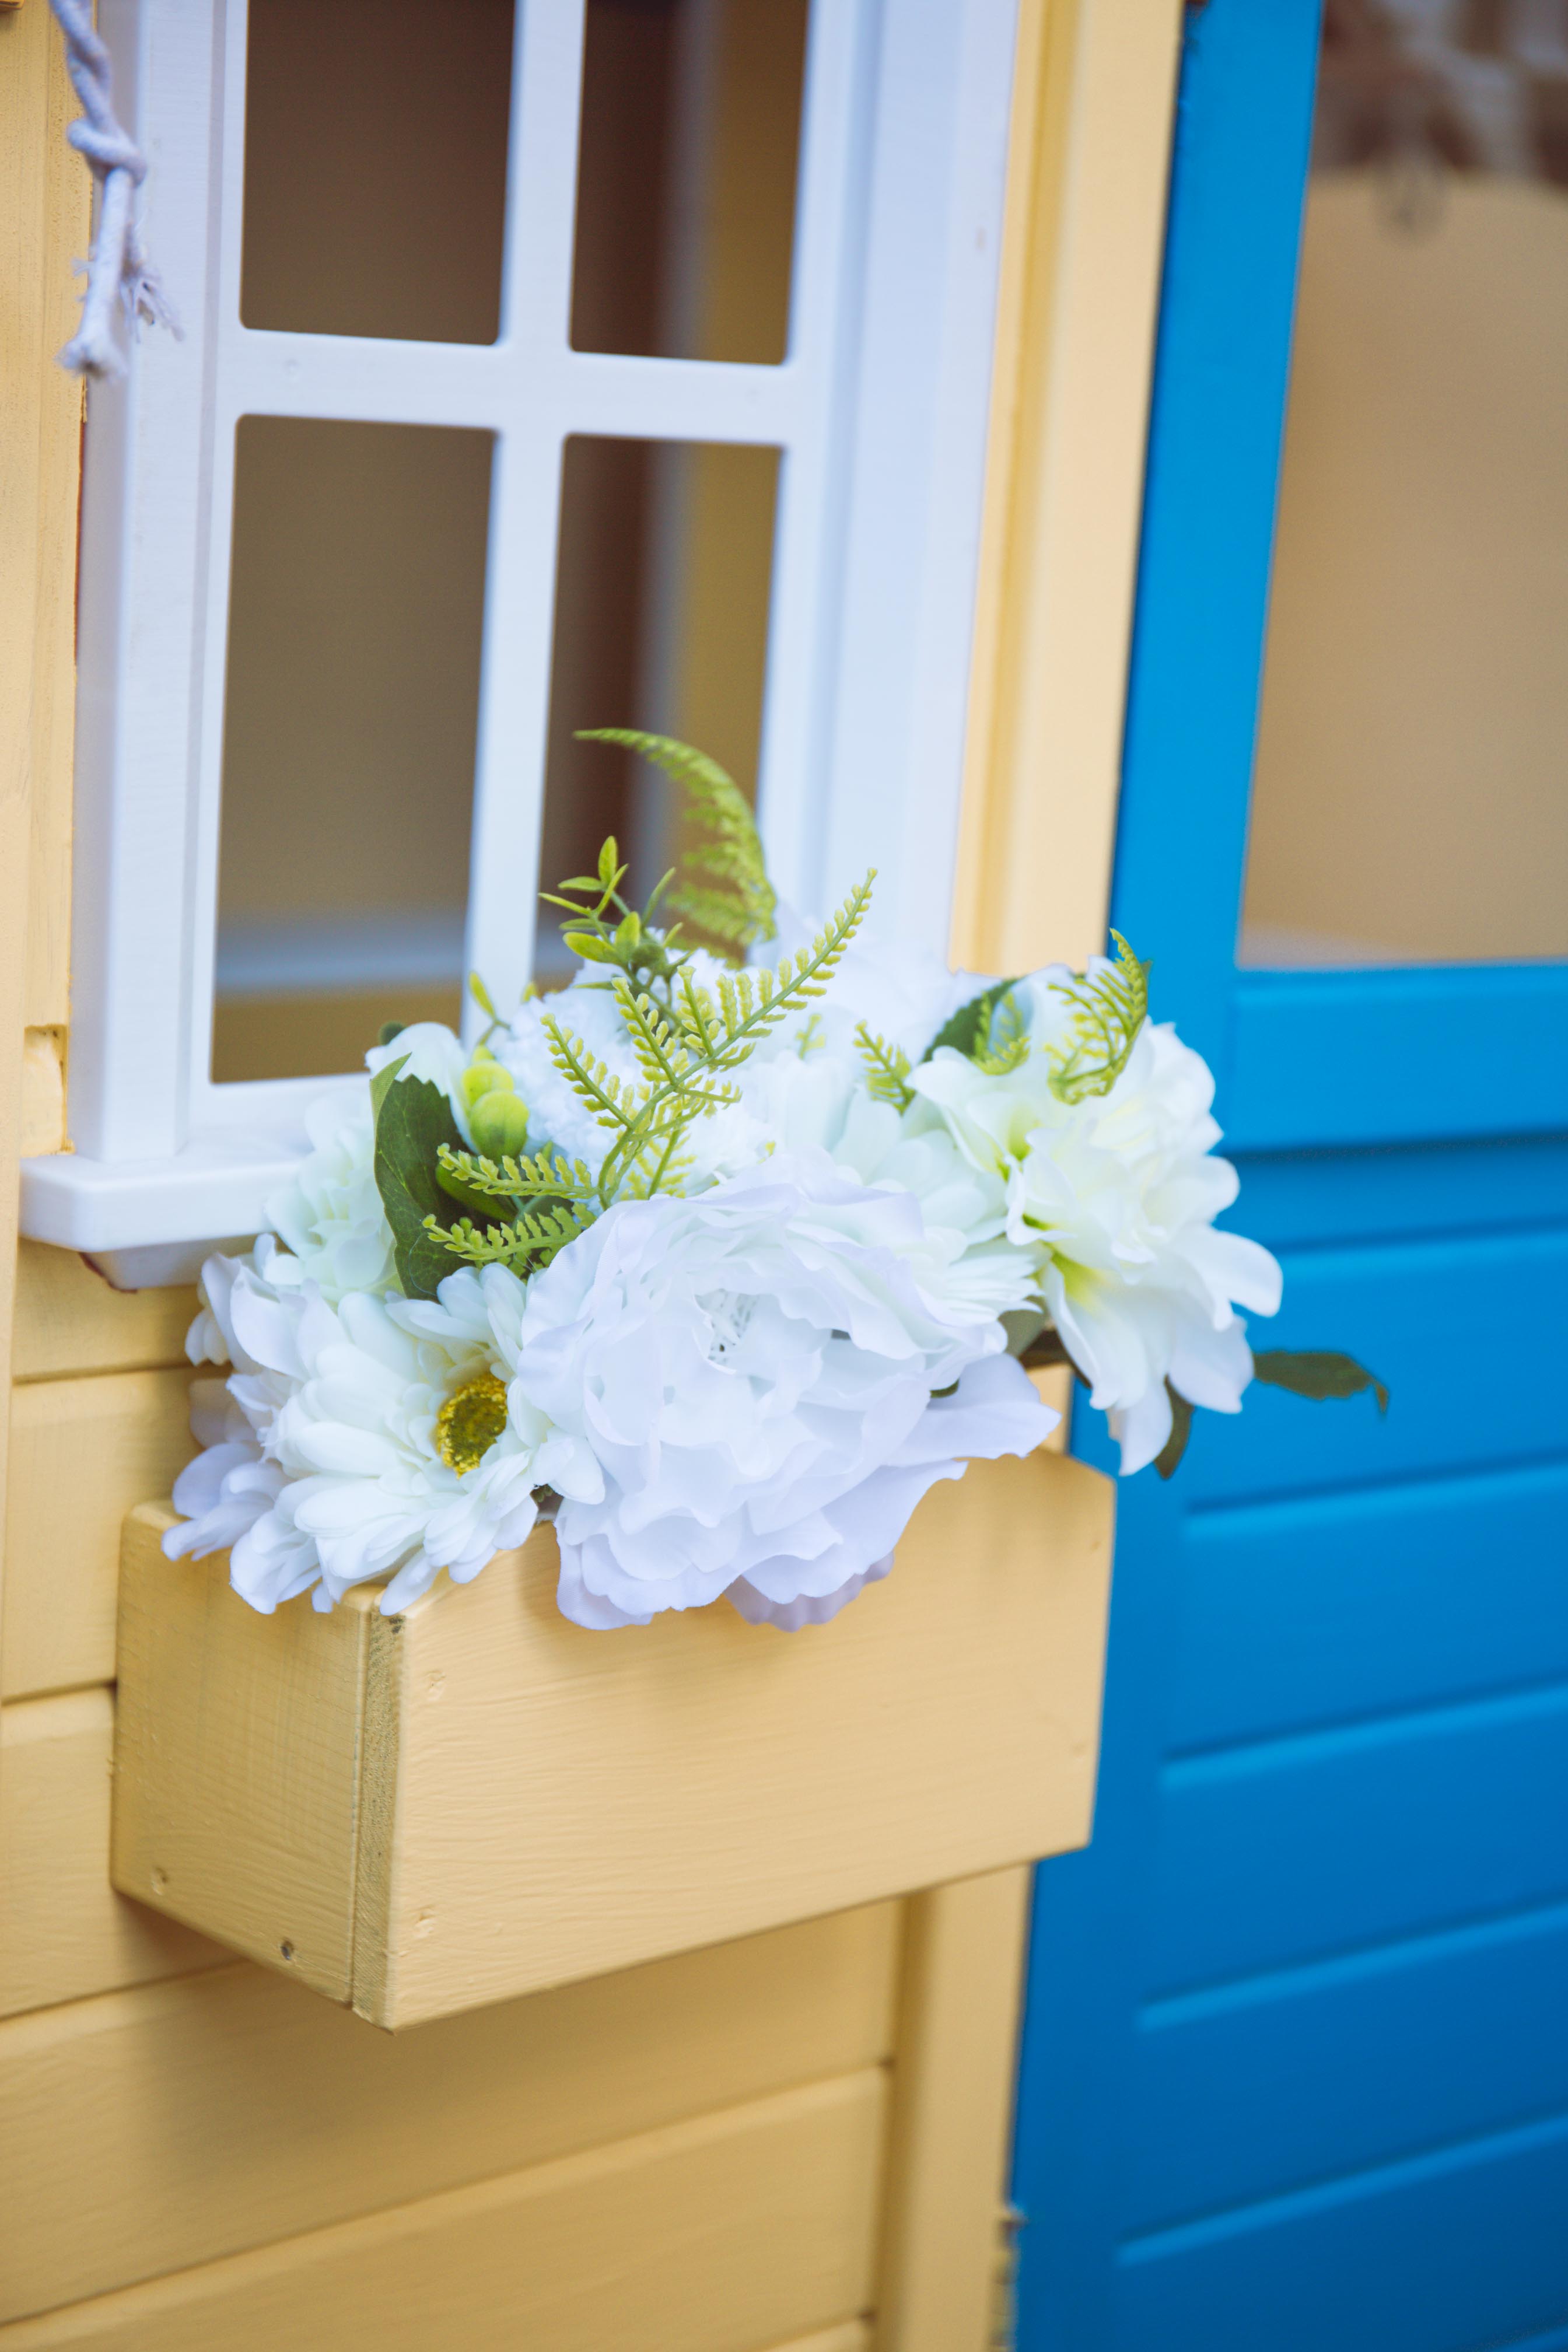
The original plan was to plant succulents in the planter boxes but I knew Clara would be overly enthusiastic about watering her plants so I stuck with two bunches of artificial flowers ($8) from Kmart. Note: the stems are bendable so the flowers can be arranged to sit tightly in the planter box.
There are also two wisteria garlands ($11.99 each) secured to the roof with the same cup hooks that I had used for the awning.
Assembly
The walls are all pre-built so the cubby came together very easily! Although Zen managed to do most of the screws himself, I had to take over when it came to attaching the interior screws to the roof because he was getting a sore neck. Sometimes it pays off to be short!
In terms of assembly, my only tip would be to borrow or invest in an electric screwdriver if you want to speed things up but otherwise the manual effort wasn’t too bad.
I really wanted to create a space that would encourage creativity and imagination, and be reminded of what good old fashioned outdoor fun is. I’m so happy with how the cubby has turned out! It has already become the family hang-out spot! I’m looking forward to setting up a worm farm and a little veggie garden beside the cubby next!
Feel free to leave your questions below if there’s anything I’ve missed! 😊😊😊


Does the inside of the cubby get wet when it rains?
Hi Lee, yes, it can get wet depending on the direction of wind and heaviness of rain. We use a waterproof tablecloth to cover the kitchen when it does drizzle. Hope that helps! 😊
Hi our girl is quite tall 100cm what is the height of the door please? Would she get in and out okay?
Thanks
Hi Michael, the door is 98cm in height at the highest point (it’s slightly curved). It’s roomy inside but she’ll have to duck her head to get in.
Hi there! Is the cubby house waterproof? Would it last a few years out in the weather?
We chose a high quality weather-proof paint and 1 year on, it still looks brand new!
Hi there, did you paint the cubby house immediately after opening? Or did you wait a few weeks for it to weather?
We painted it straight away ☺️
I love this!
Did you need to secure the cubby? Or did you just place it onto the flooring?
Does it move at all with the wind or with play?
Hi Nicky, there’s no need to secure the cubby house, it’s really sturdy and doesn’t move at all with high winds or play. At least not yet with my 3 year old!
Thank you soooo much! Your tips have helped heaps 😊
very nice.
Hi Jen, great little project. In addition to the wether proof paint did you use any sealant on the roof to close any possible gaps??
Hi David, no sealant or any other materials were used on the roof. We haven’t noticed any gaps, etc
Looks great! How did you make the awning? As in how does it attach to the cubby and how do you get the fabric on? ( I am useless with anything diy)
I included long pieces of fabric on each corner so it can lace around the wooden frame and tied into a bow. Alternatively, I’ve seen others cut the fabric to size and use a hot glue gun to secure it on – it’ll do the job but just won’t be removable/washable.